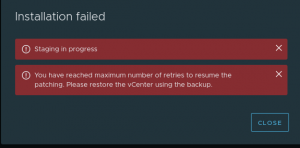
Recently I made the move to migrate all my VMs from running on VMware ESXi to running on Hyper-V. This was the first time that I have shifted to another platform away from ESXi as my main hypervisor platform.
As it was a single server, I made a backup of all my VMs with Veeam, taking also a copy of my config file and built a new Veeam Backup and Replication server on Hyper-V with importing the config file, allowing to restore all VMs across to Hyper-V.
Whilst all VMs booted up, the one issue I did run into was the ethernet adapter had changed from a VMXnet3 to a Hyper-V Virtual Network Adapter.
For Windows VMs, this was no issue and they all connected as if nothing had changed.
For Linux servers (Ubuntu in my case), the adapter name did change and the the Netplan .yaml file did not update. Thus, there was no connectivity to the outside world.

While the adapter in Hyper-V manager looked to have a connection, it was unable to display the IP Address as it was not associated with it. (This would be relevant to any hypervisor migration where the adapters aren’t exactly the same).

There is a very simple fix, as I mentioned above, the. netplan yaml file does not automatically update to reflect a new adapter name as there is no detection that runs like it does when installing the OS.
To find your new adapter, you can run: ip link show – You will be able to match the mac address on the adapter to the results in the ip link output.
Once you have your new adapters name, you can then update the .yaml file. Using the below commands, you will first search and confirm the name of the .yaml file and then edit with your preferred editor (in my case I will use vi). You can use tab completion to fill in the file name when you have the netplan folder specified
ls /etc/netplan/

sudo vi /etc/netplan/00-installer-config.yaml
Inside the .yaml file, you will need to find the line underneath “ethernets” – this will be your old adapter name and using the correct key combination, enter the insert (i key) function.
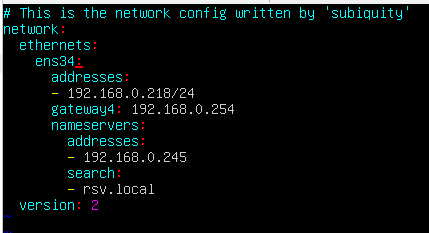
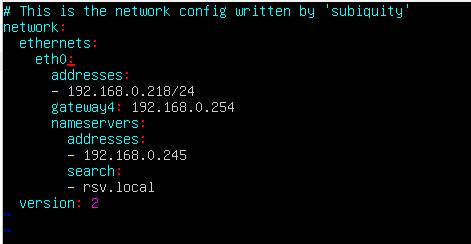
Using my screenshots, update the “ens34” to “eth0”
Press esc to escape the insert mode, then use :wq to write and quit vi.
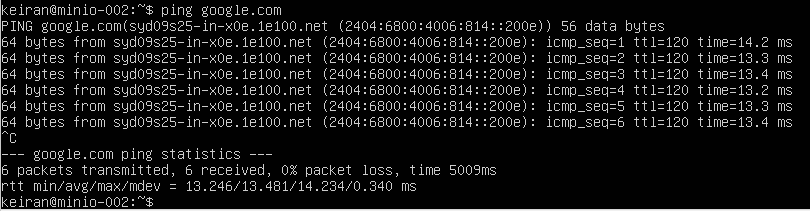
Lastly, make sure to apply the netplan configuration. This is easily achieved by sudo netplan apply – Once applied, run through a ping test and make sure your network is functioning correctly.
My understanding, and experience so far, is that with Hyper-V the adapter name is going to be the same followed by ascending numbers (eth0, eth1, eth2, etc.) – However, it is always best to confirm first.
Hopefully that will save you some time when migrating between various hypervisors where the adapter changes.