In early 2023, Veeam released their next realease of Veeam Backup for Microsoft 365, with v7. This brought a load of new features, allowing it provide faster and more resilient backups for Microsoft 365. One of the biggest features was the ability to perform backup copies of your tenancy, allowing you to keep a second copy whether that be on another datastore, another data centre or off up into the mighty cloud.
Backup copies aren’t new, they have been around in Veeam Backup and Replication for over 10 years, and it only made sense to extend this feature to 365 backups.
A backup copy is a separate job from the primary job, this allows more flexibility and ease of use – so it is important to name the backup copy with something that distinguishes it from the primary job.
Before we get into the configuration side of things, there are a couple of pre-requisites for being able to run a backup copy:
- Only Object Repository to Object Repository is supported. You cannot perform a backup copy of the original JetDB – If you want to backup your JetDB, you could use Veeam Agent Based backup to take a copy of the JetDB files or veeam Backup and Replication to take a backup of the VM hosting those JetDB files.
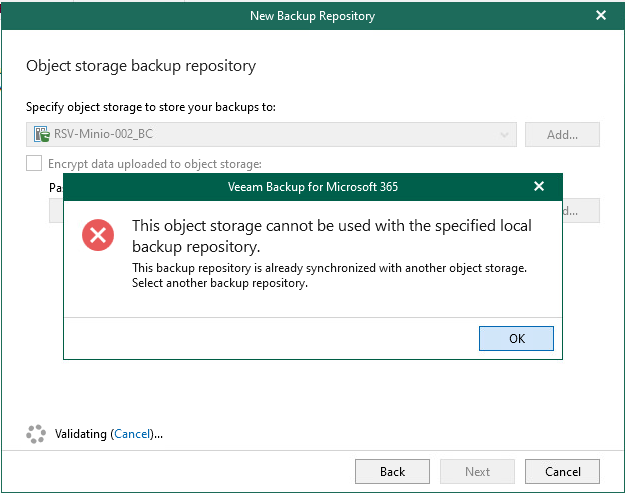
- Your Object target must have it’s own Proxy/Repository attached, you cannot share with Object targets. You will receive an error if you try to use a proxy folder that already contains data.
- If you want to use Immutability, Object Lock must be enabled on the bucket before configuring the job.
That’s pretty much all there is to watch out for and consider. The rest of the steps should be fairly familiar if you have already gone through and set up Object Repositories for your existing jobs.
Config
- If you are using an on-prem solution for your object storage, like MinIO or Object First, you will need make sure your storage is pre-confgiured and accessible from your 365 server.
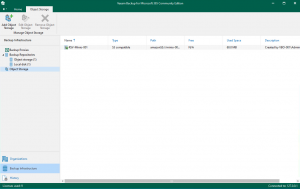
- Create your bucket on your Backup Copy target storage and confirm that you can access the location. Below you can see that minio-001 (left) contains my primary backup that i hav already configured and taken an initial full backup of my 365 account. My Backup Copy target, minio-002 (right) currently shows no backed up data for 365,

You will also note that i currently only have 1 backup job configured.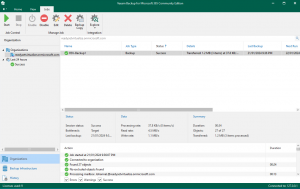
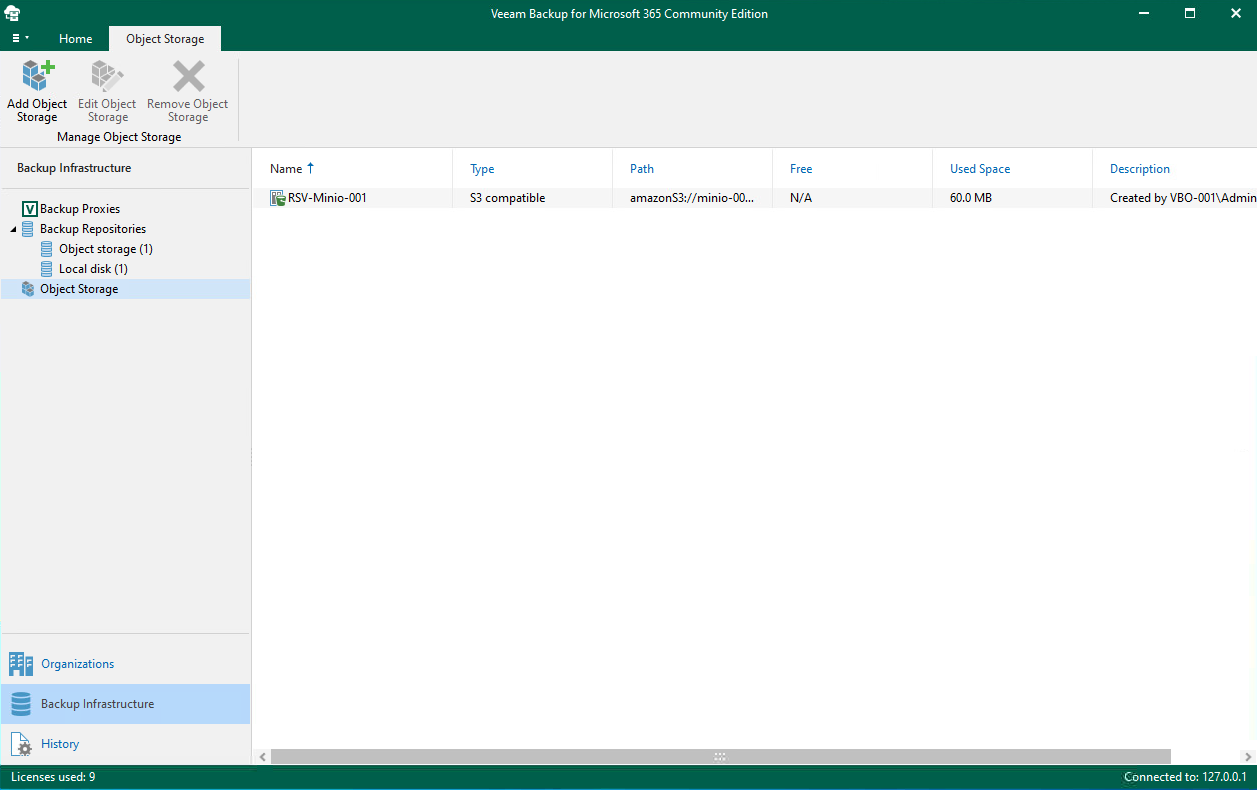
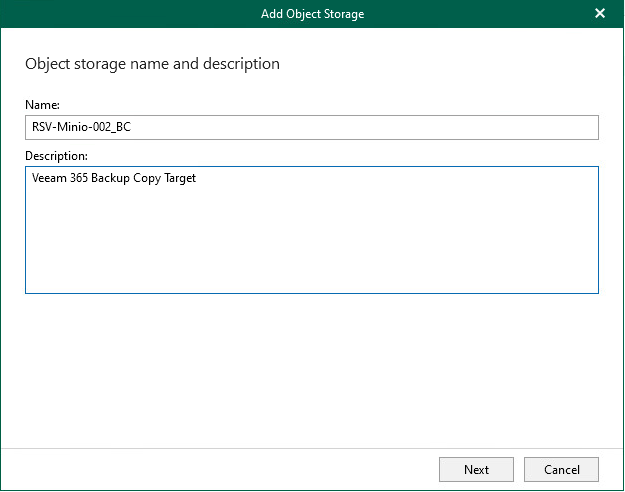
- Navigate to Backup Infrastructure -> Object Storage and select Add Object Storage. This will open up the Object Storage connection wizard. Here you can start by giving your object storage a Name and Description
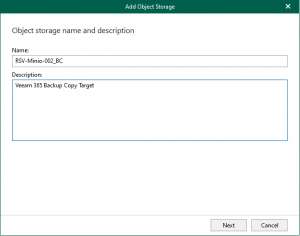
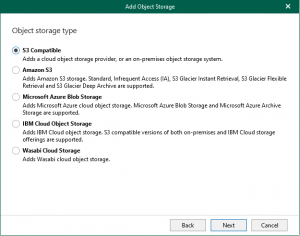
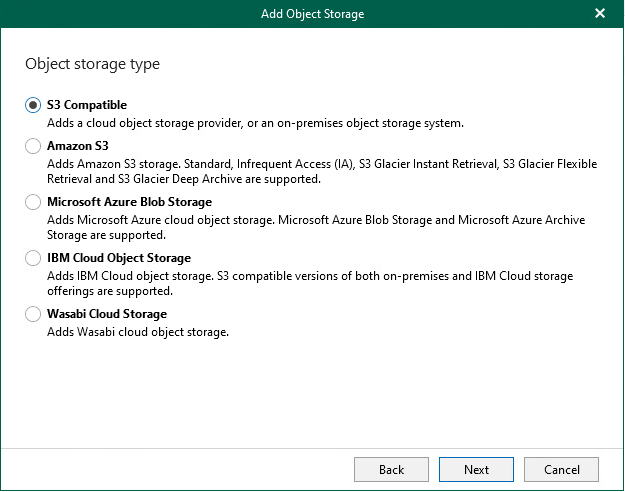
- Select the correct object storage solution to meet your requirements. If you are using something like MinIO, Ceph or another S3 Compatible object storage, select S3 Compatible, otherwise select the matching cloud target.
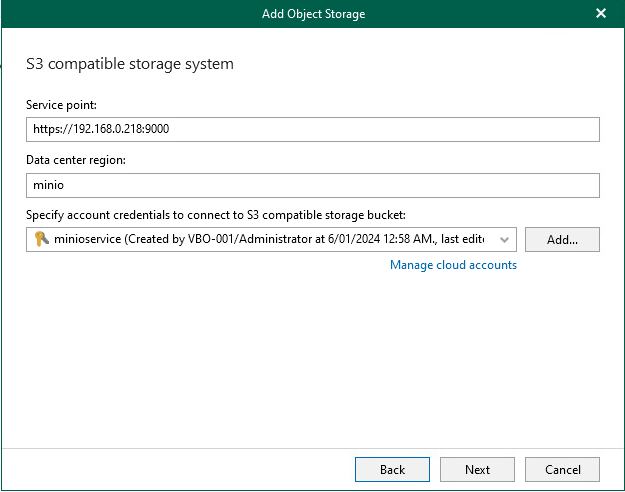
- In the next screen, you will need to enter your service point, Data Center Region and specify your Account Credentials for your target repository. These will be saved into the Veeam DB. The service point will be that of your backup copy target.
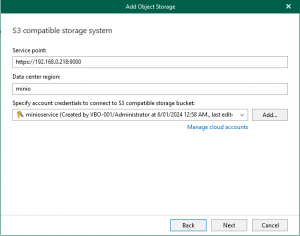
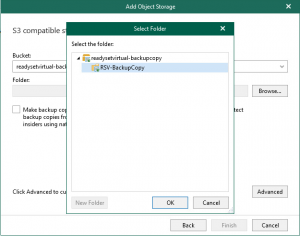
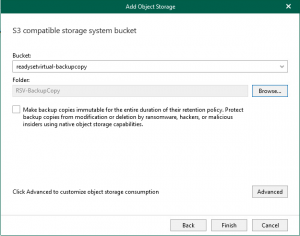
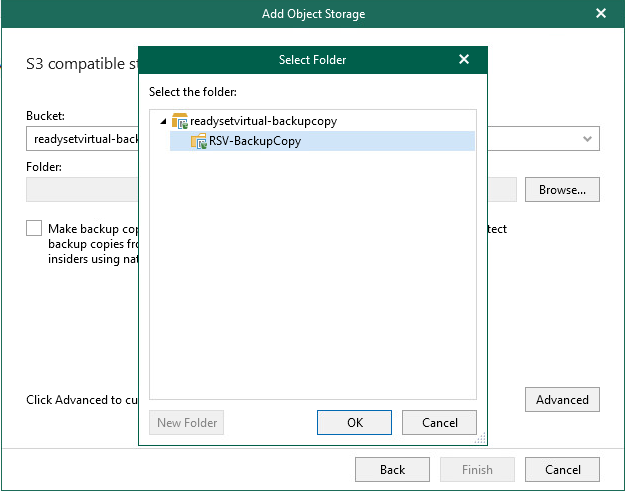
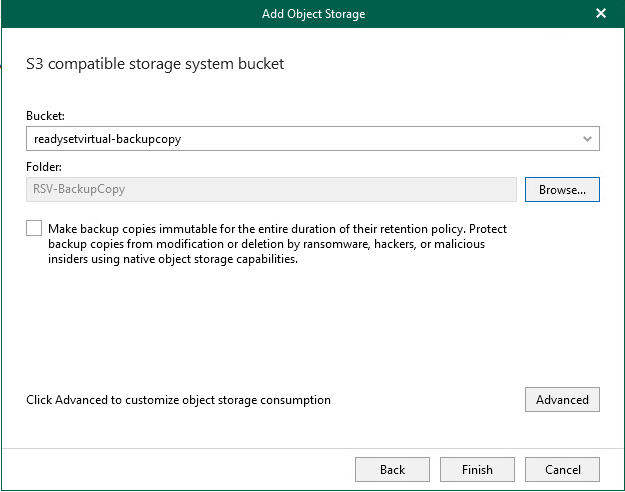
- Ensure that you have already prepped your repository with a bucket to connect to. Depending on the number of buckets that you have, the drop down menu will display all available buckets – Select the correct bucket for your target. Once you have selected your bucket, click Browse and select the bucket name – Click New Folder and name your Backup Copy target folder.
- Another great feature brought into v7 is the ability to create Immutable Backup Copies. However, please consider and understand the use of this feature, whilst it is always recommended to have immutable backups, in Veeam Backup for Microsoft 365, the retention period you select for the job is also the retention period of the immutable backup. In other words, If you select to retain 2 years worth of backups before they age out and have applied immutable backups, if the customer leaves and you are required to delete the customers data off your system, you will need to wait until the last backup has aged out over 2 years before it can be removed.
https://helpcenter.veeam.com/docs/vbo365/guide/immutability.html?ver=70Click Finish to create your object storage
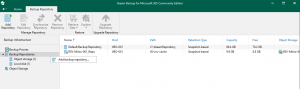
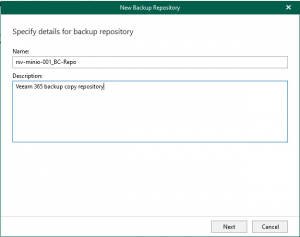
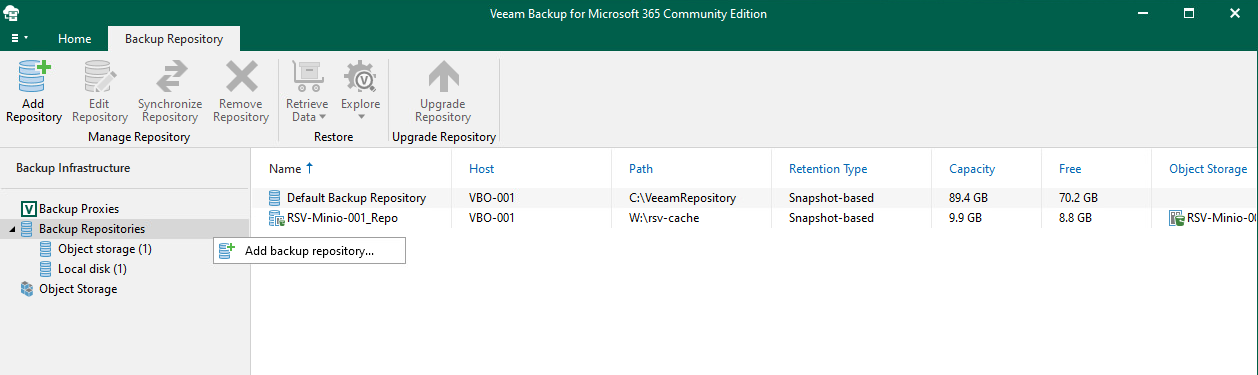
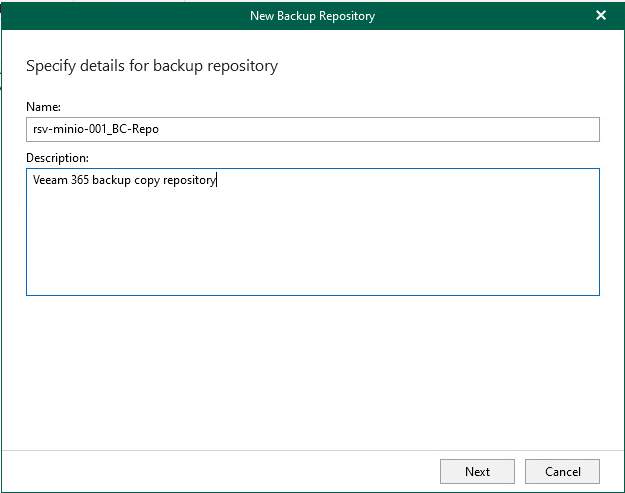
- You will need to create and Object Repository that attached the Object Storage to a Proxy and a caching folder for the database. Select Backup Repository > Add Repository (You can also right click to select Add backup repository). Once again a wizard will open up and you can give the repository a Name and Description
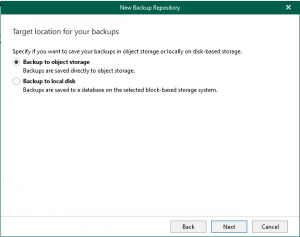
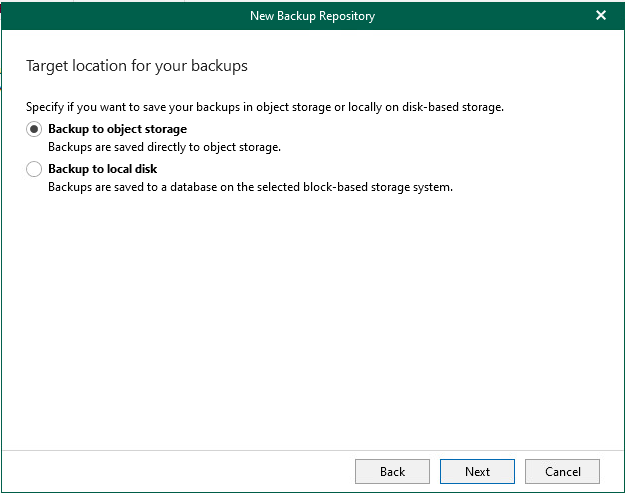
- Select Backup to object storage – this will select the next few windows applicable to object storage. If you select the second option, this will allow you to create a JetDB repository – which unfortunately won’t work with what we’re trying to achieve here.
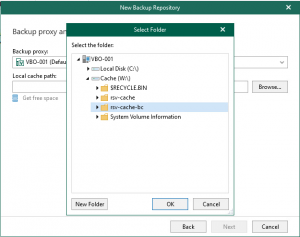
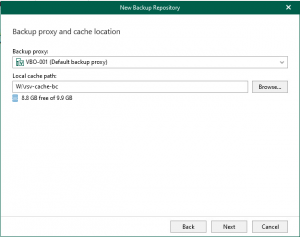
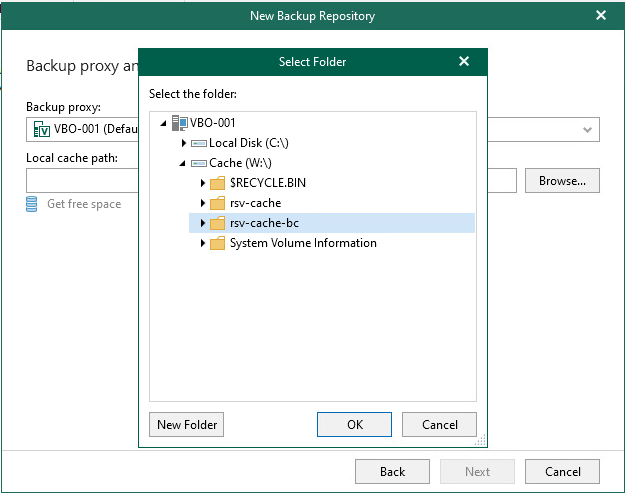
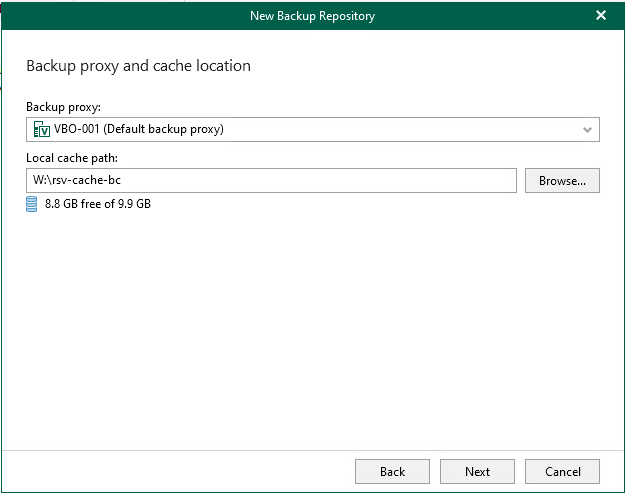
- Depending on your infrastructure design, you may have multiple proxy servers, and they may be in different locations. Select the right proxy server that connects to your object storage target. Here you can then create the local cache path that will reside on your proxy server. You should have a drive preconfigured to contain your cache files. Select Browse and then select the drive and path then New Folder to create the target cache folder,
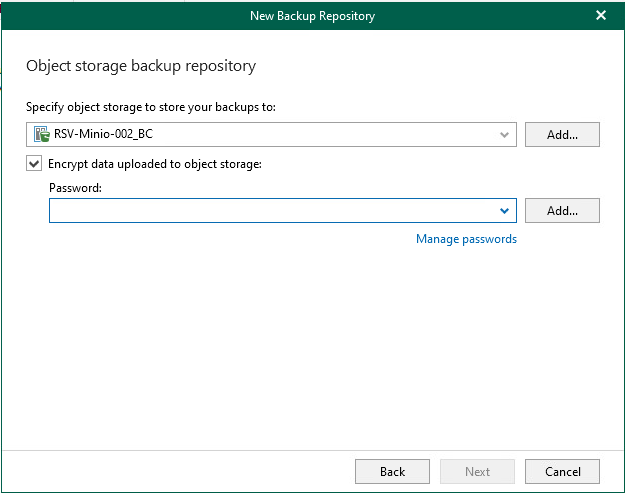
- Select the target object storage. If the object storage is already in use by another repository, it will not show up in the list.
You can configure an encryption password to ensure that the data is encrypted at the target. This is different from immutability, encryption will prevent someone from reading the data without the encryption password, but will not prevent them from deleting the data.
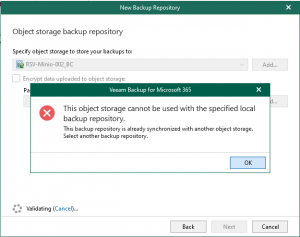
During the validation process, if the selected cache folder already contains an existing database in it, you will receive an error message advising of this. You will either need to clear the folder or create a new folder.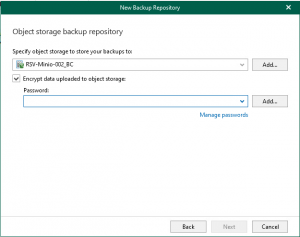
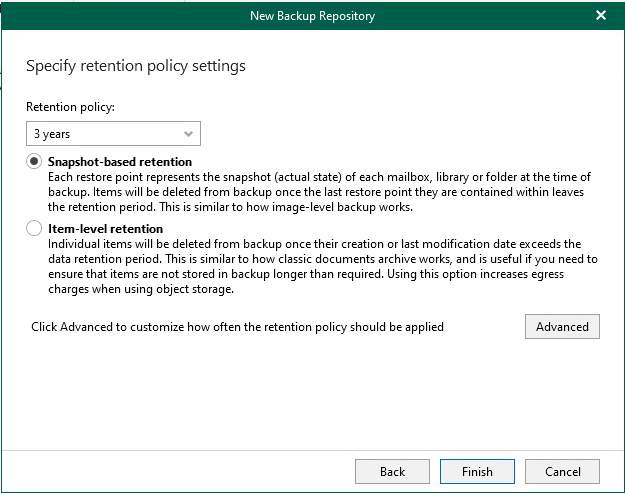
- Select your retention policy and the type of backup you want to take, whether it be as an image or at the item level, make sure you read carefully the different options available.
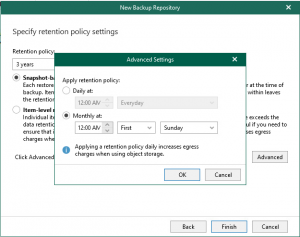
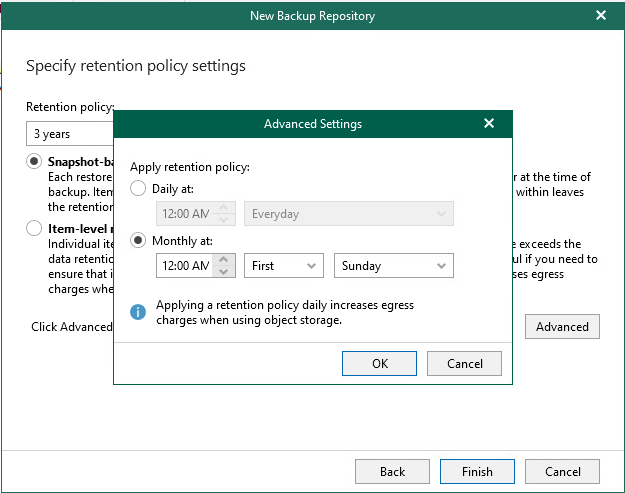
By selecting Advanced you have the ability to choose when you want the retention policy applied – make sure you understand how this works, otherwise you may end up paying additional egress charges.
https://helpcenter.veeam.com/docs/vbo365/guide/new_repository_4.html?ver=70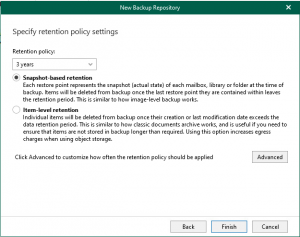
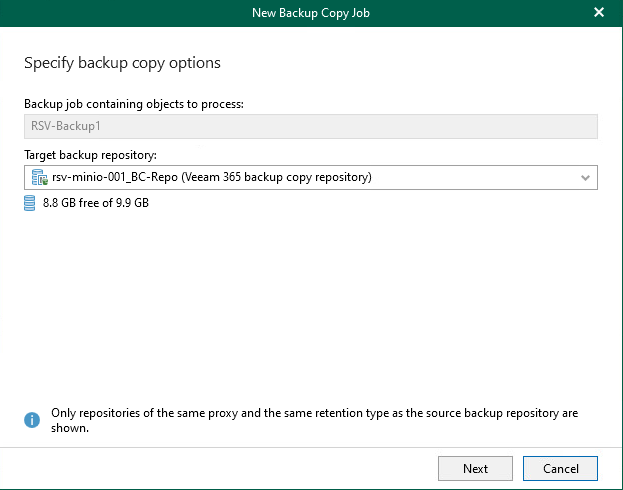
- Lastly, once the targets have been configure, it is now just a case of creating the backup copy job. Head back over to Organizations > Select your existing primary backup job and click Backup Copy – this will open a new wizard that looks similar to the primary backup job creation wizard.
- Here you will be able to select your Target Backup Repository – take note that this is the Backup repository and not the Object Storage directly.
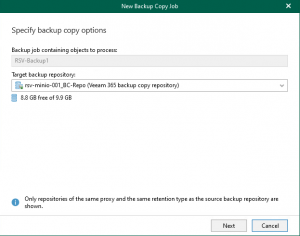
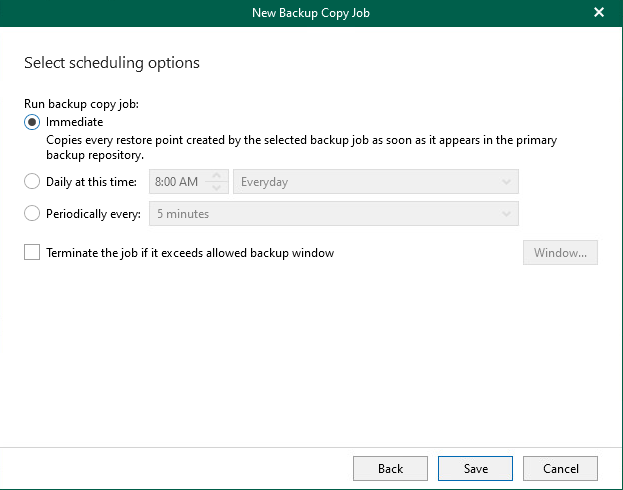
- You can choose when you want to run the backup copy job. You can select for it to occur immediately as the primary backup job runs, you can set a specific time of day or on a repeated schedule.
There is also the option to run the backup job within a pre-defined window.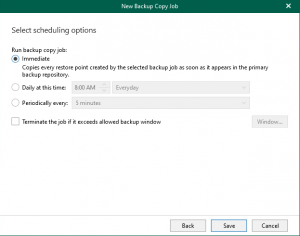
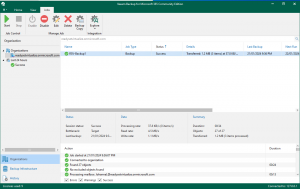
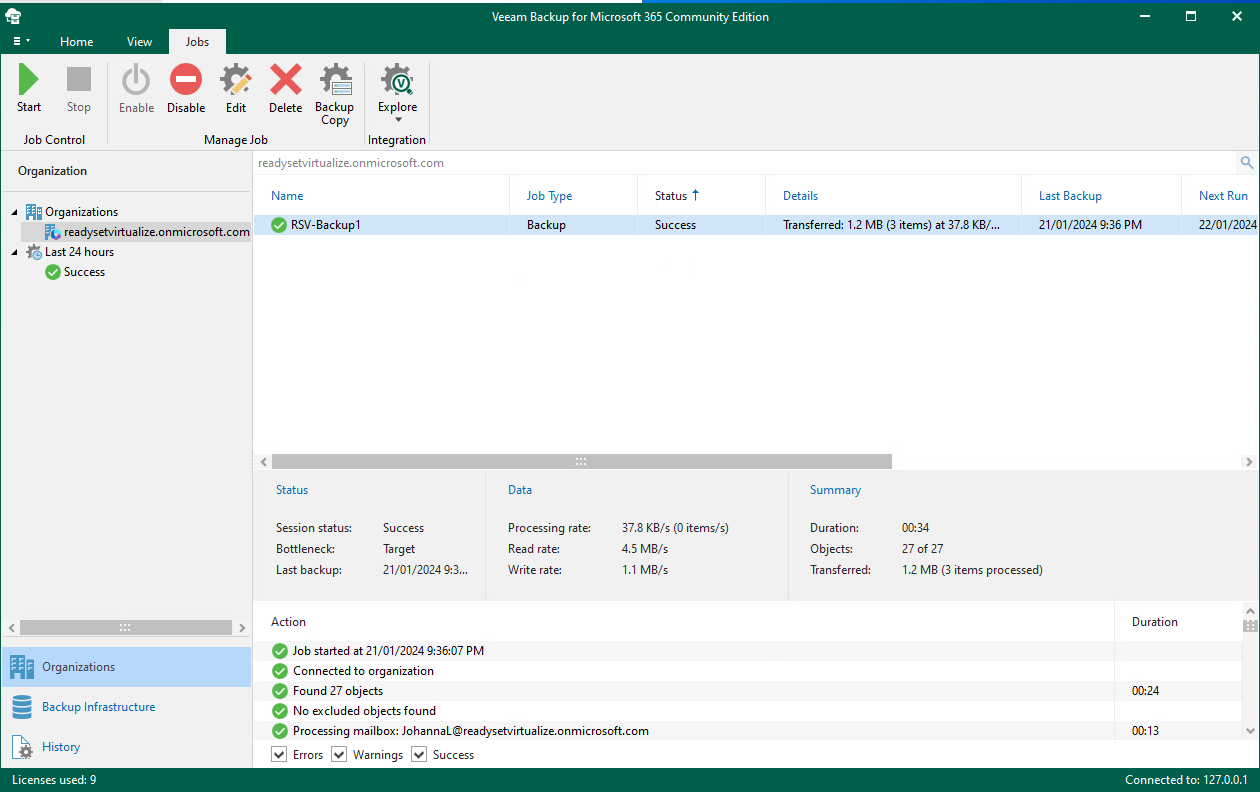
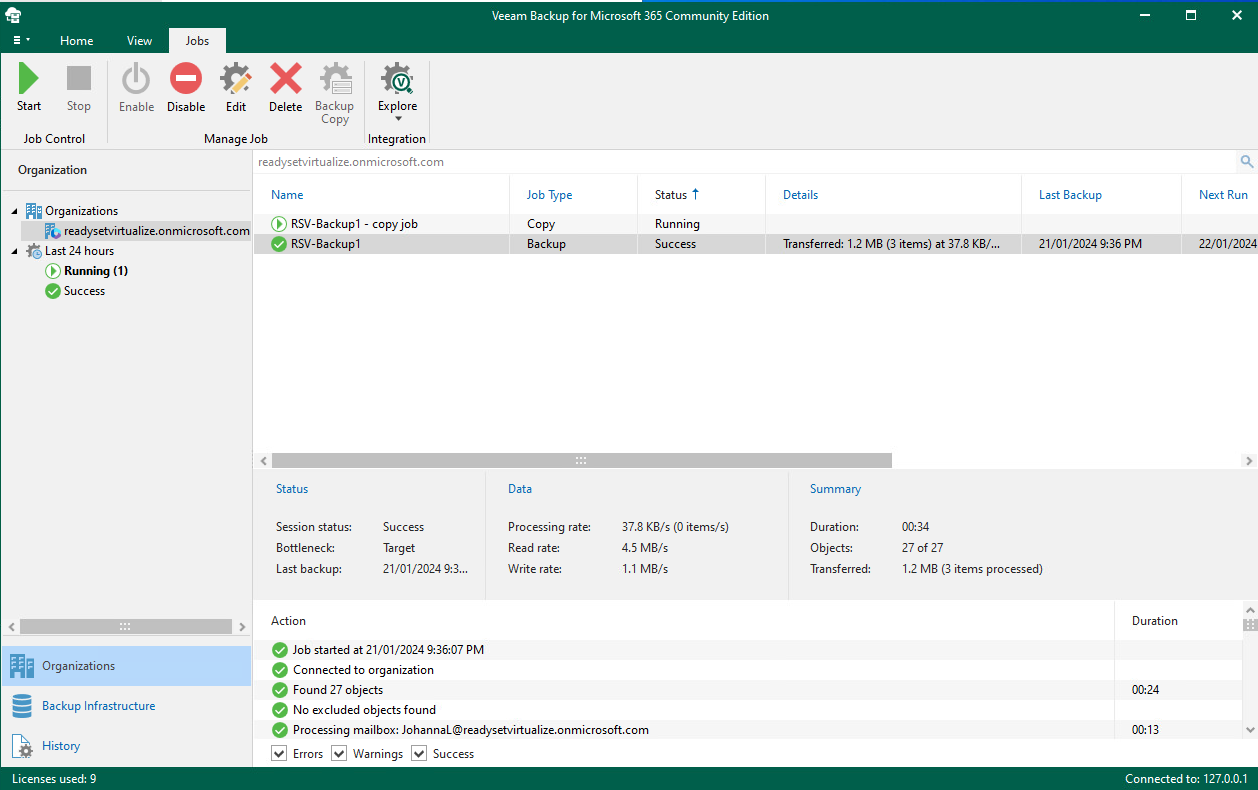
- Once the job has been configured, if you did not select the “Immediate” option to run the job, you can go ahead and run it for the first time. You will note that the job type is shown as Copy and the the start and last backup information is avialable.
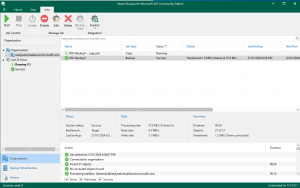

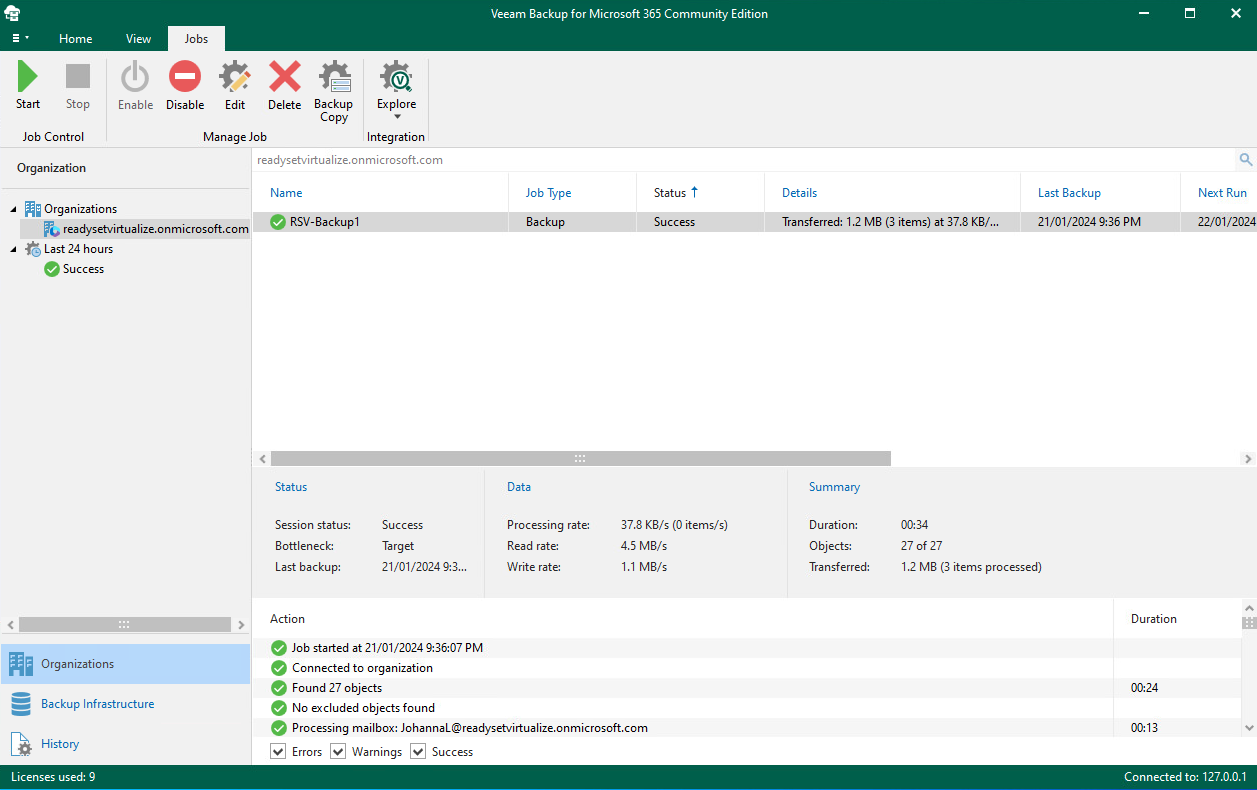
You have now configured a backup copy of your primary Microsoft 365 backup.
For more information, please check out Veeam’s KB articles related to backup copies.