When new products are released, we generally see other products in the line up being updated with new features and improvements. We saw quite a number of new features added to the Veeam Agent for Mac. During the Veeam v12 launch where the focus was on Veeam’s new Data Platform, Veeam Warranty and Veeam Backup and Replication v12, there was also some other products that received updates and new release numbers and in among those was the Veeam Agent for Linux v6.
Over the years, Linux has grown in popularity in the desktop world and new distros continue to pop up, but in the enterprise space, Linux continues to dominate, whether it be as a virtual machine or a bare metal appliance. Regardless of what the distro is used for and it’s underlying hardware\hypervisor, it still needs to be backed up. Your data is important. So, with that said, let’s dive in.
Installation
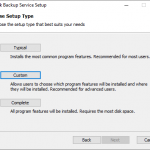
So this is something very easy, especially if you have any Linux skills. You will first want to make sure you check the release notes to ensure that you have the a supported distro (or flavour) of Linux. All the main distros are there; Ubuntu, Debian, RHEL, SLES, and many more. You will also want to make sure that all you have all the required dependencies. If you are are planning to backup to a Veeam Backup and Replication or Cloud Connect Repository, you must target VBR 12 or higher. Head on over to the downloads page over at Veeam, here you can grab the latest and appropriate version for your distro. Again, make sure you have all the required dependencies and have read the release notes so you can familiarise yourself pre-install.
In the below, I will be installing on Pop-OS, a distro based on Ubuntu/Debian with a desktop environment, so I will be installing the .deb package and using the Apt package manager.
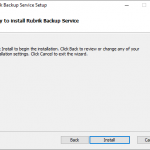
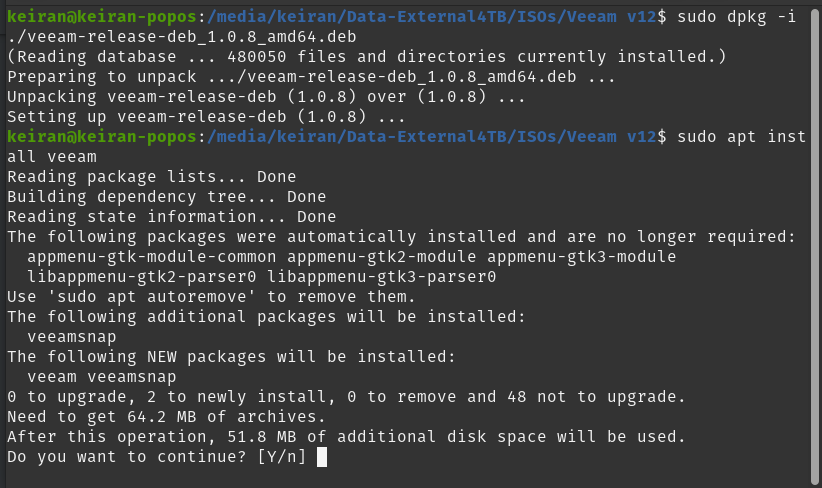
Once the package has been downloaded to your preferred location, open up terminal (If you didn’t use wget or another terminal based download method) and set your new core directory to that folder. Once in the path, you can run the dpkg install line and then update your apt repository. Once the repository has updated you can go ahead and install Veeam.
# cd path/to/folder
# dpkg -i ./veeam-release*
# apt-get update
# apt-get install veeam
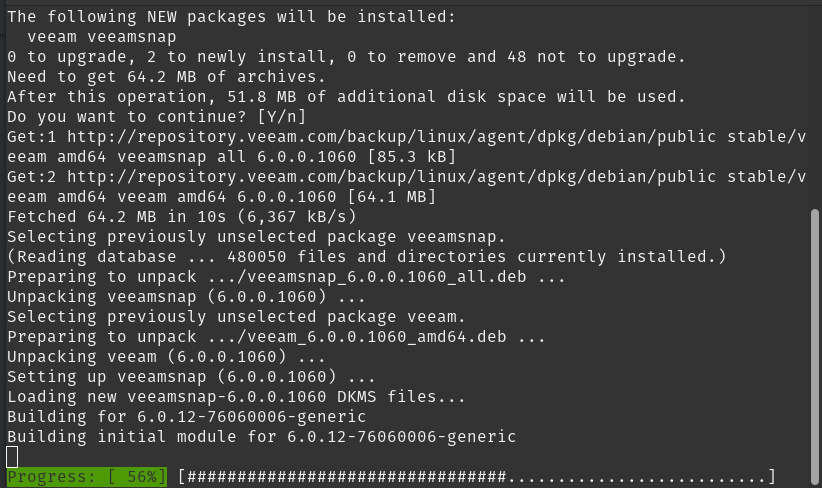
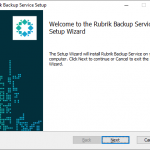
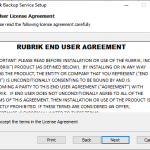
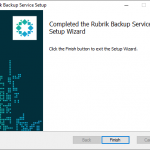
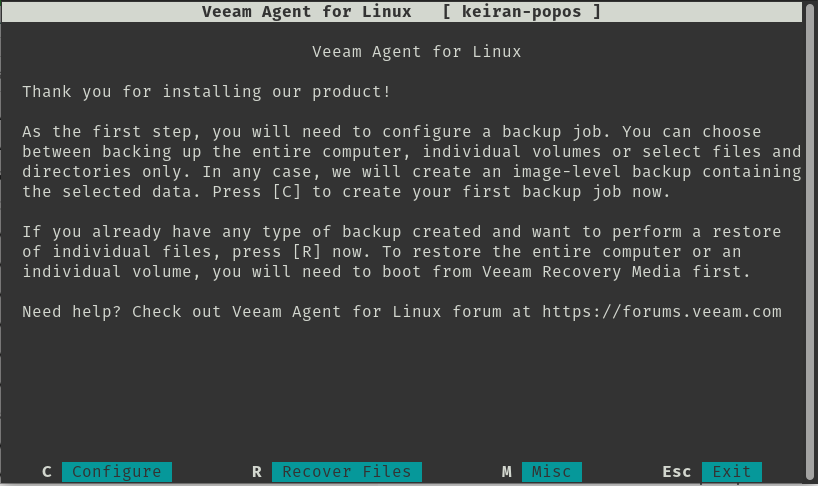
As soon as the install has completed successfully, you can go ahead and launch Veeam. This will bring you to a ELUA splashscreen that you will need to read and accept to continue. You will then be able to move on and configure your first backup job.
$ veeam
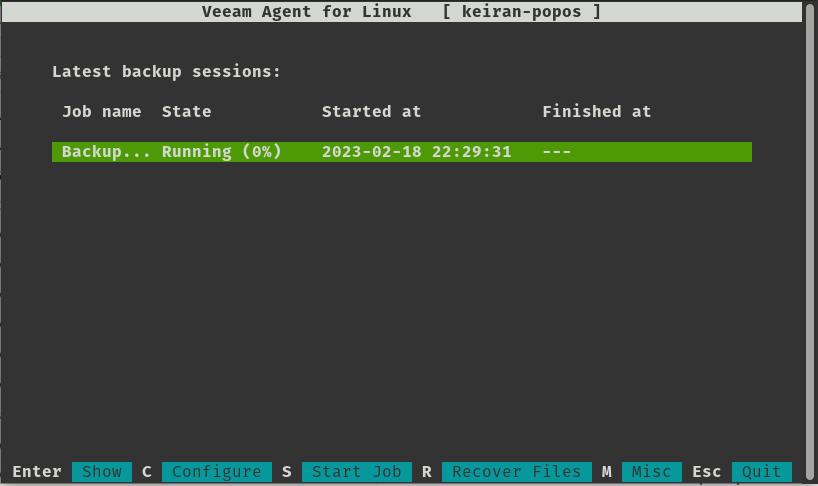
Backup
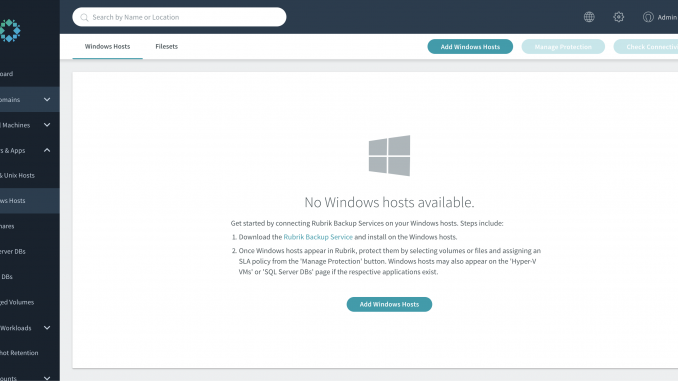
Using the keystrokes, you can navigte around the menu. c will take you to configuring your first backup job.
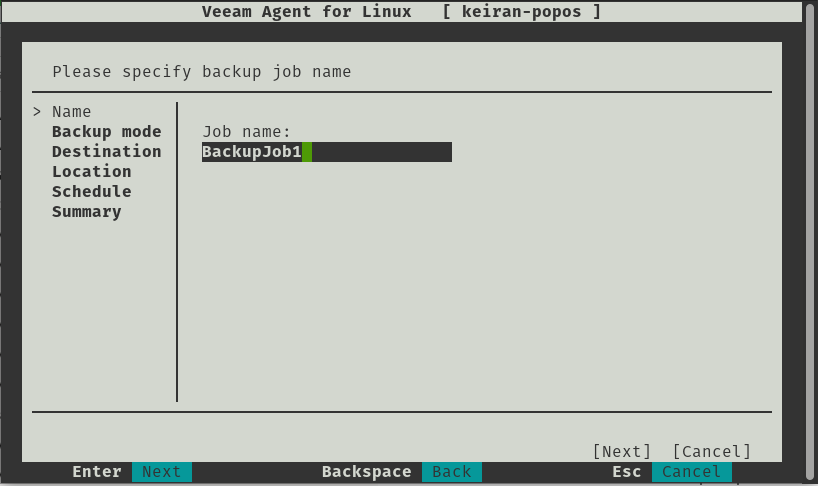
Configuring a job is very straight forward and easy to navigate, you have a plethora of options for destination, retention and how you want your files backed up.
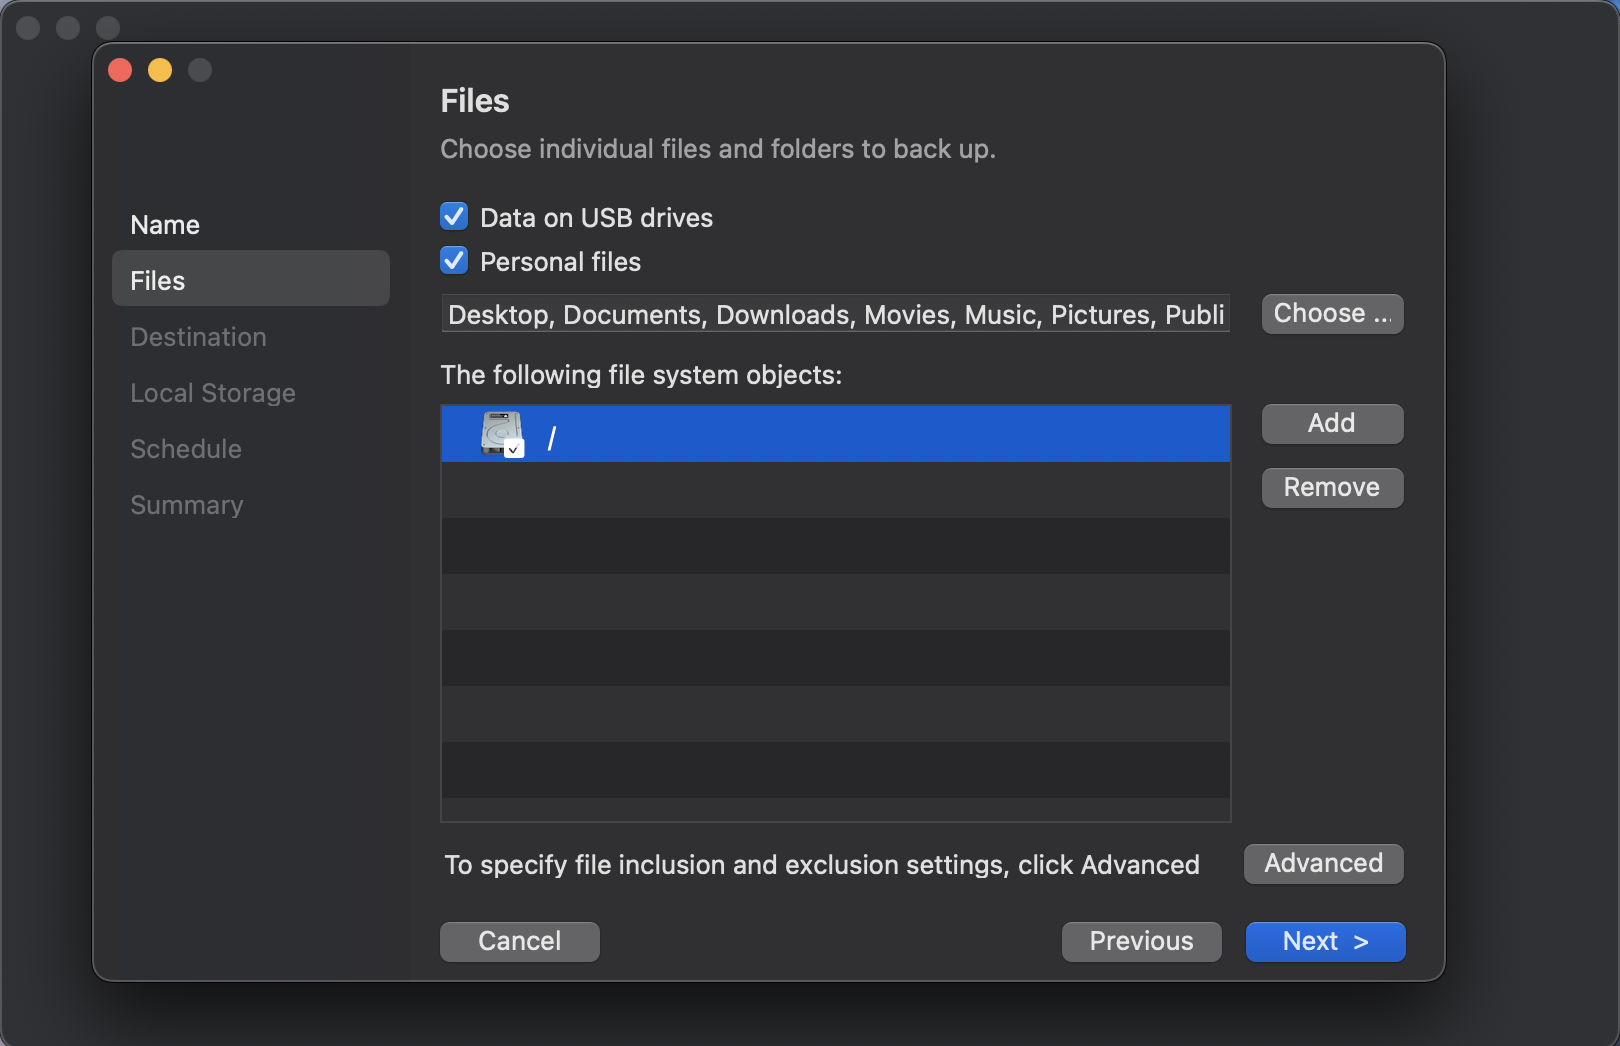
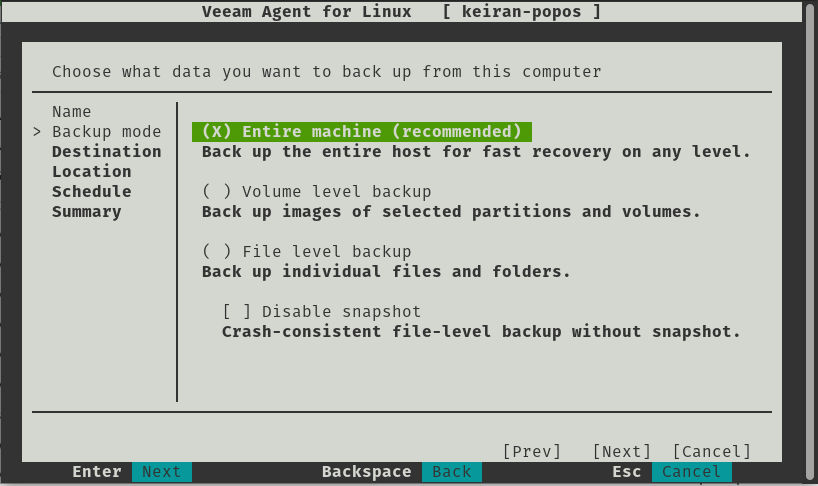
As mentioned, you ahve a number of options in how you would like to back up your files. You can select from either backing up the entire machine, volume level backup, file level backup and the additional option to disable snapshots giving you a crash-consistent file-level backup without the use of snapshots.
- Backup Entire Machine
- With this option, you will be able to take a complete in-place backup of your system, allowing you to either restore specific files, or restore the entire system back to the last backup. This includes all partitions. If you run something like df – h Here you can see the list of all the partitions that are mounted.
- Volume Level Backup
- In this option, you can select the volumes that you would like you backup to take a copy of, for example, if you only want a copy of your data drive or partition without the system root or swap partition, you can select just the data drive.
- File Level Backup
- Here you can select specfic folders and file in which you want backed up. This is a great option if all you want is to back up your desktop and document folders.
Only one option is able to be selected.
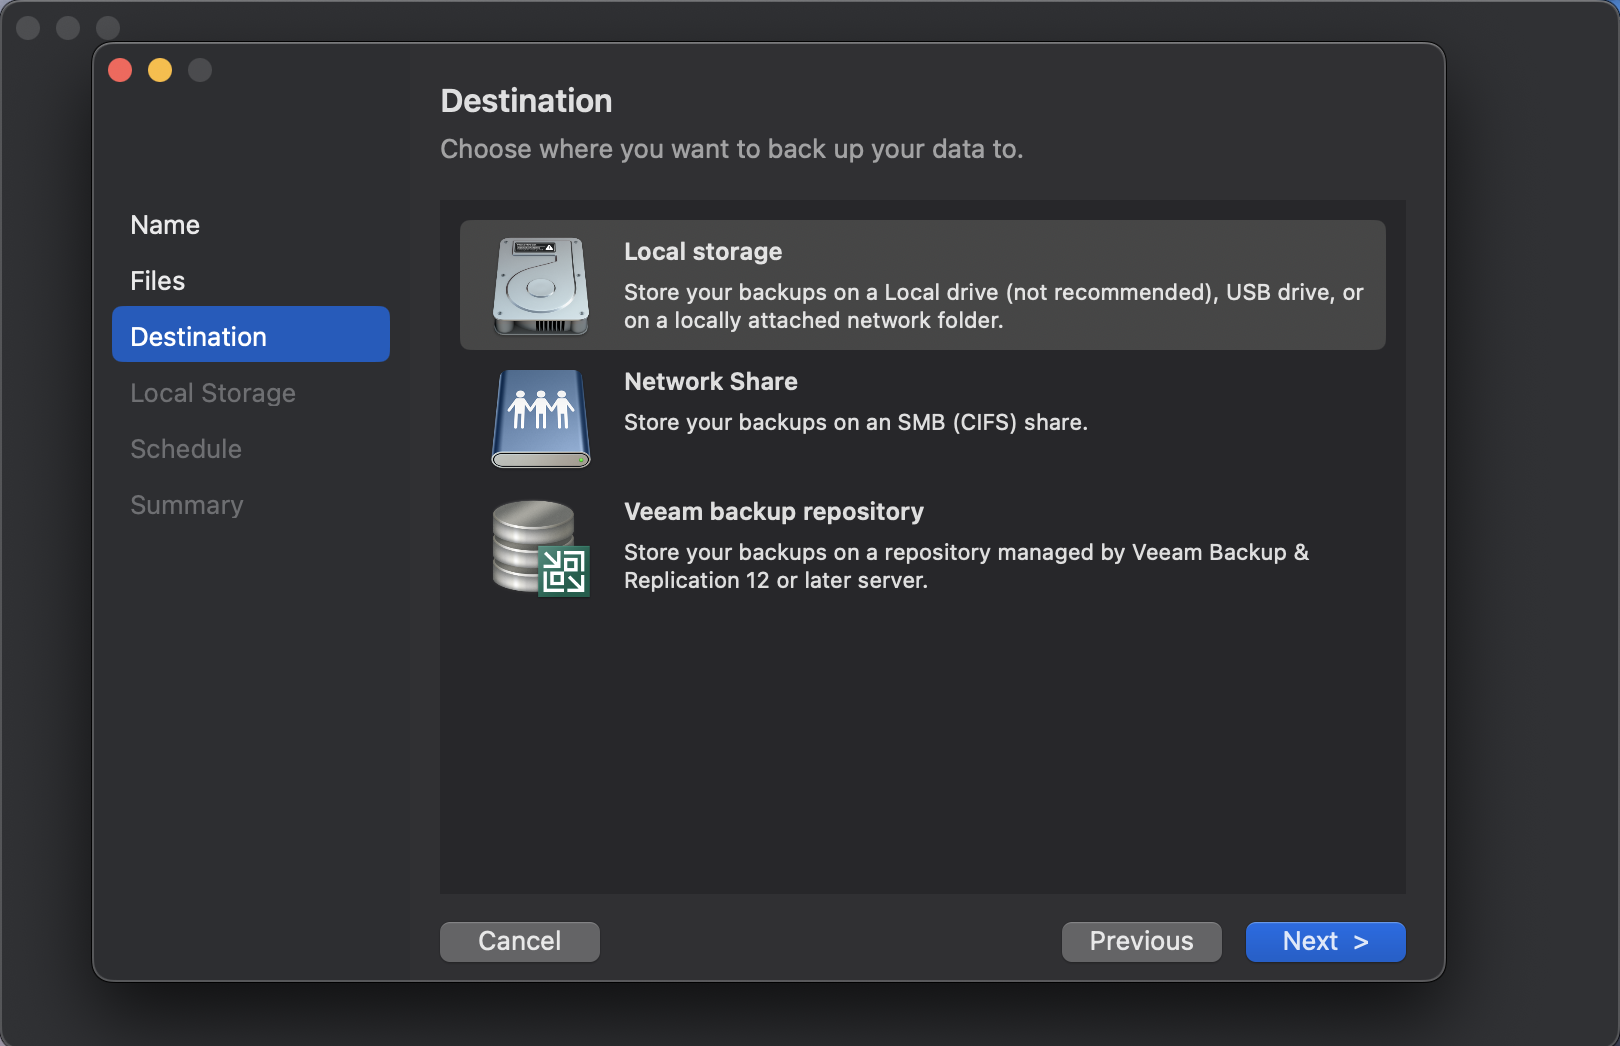
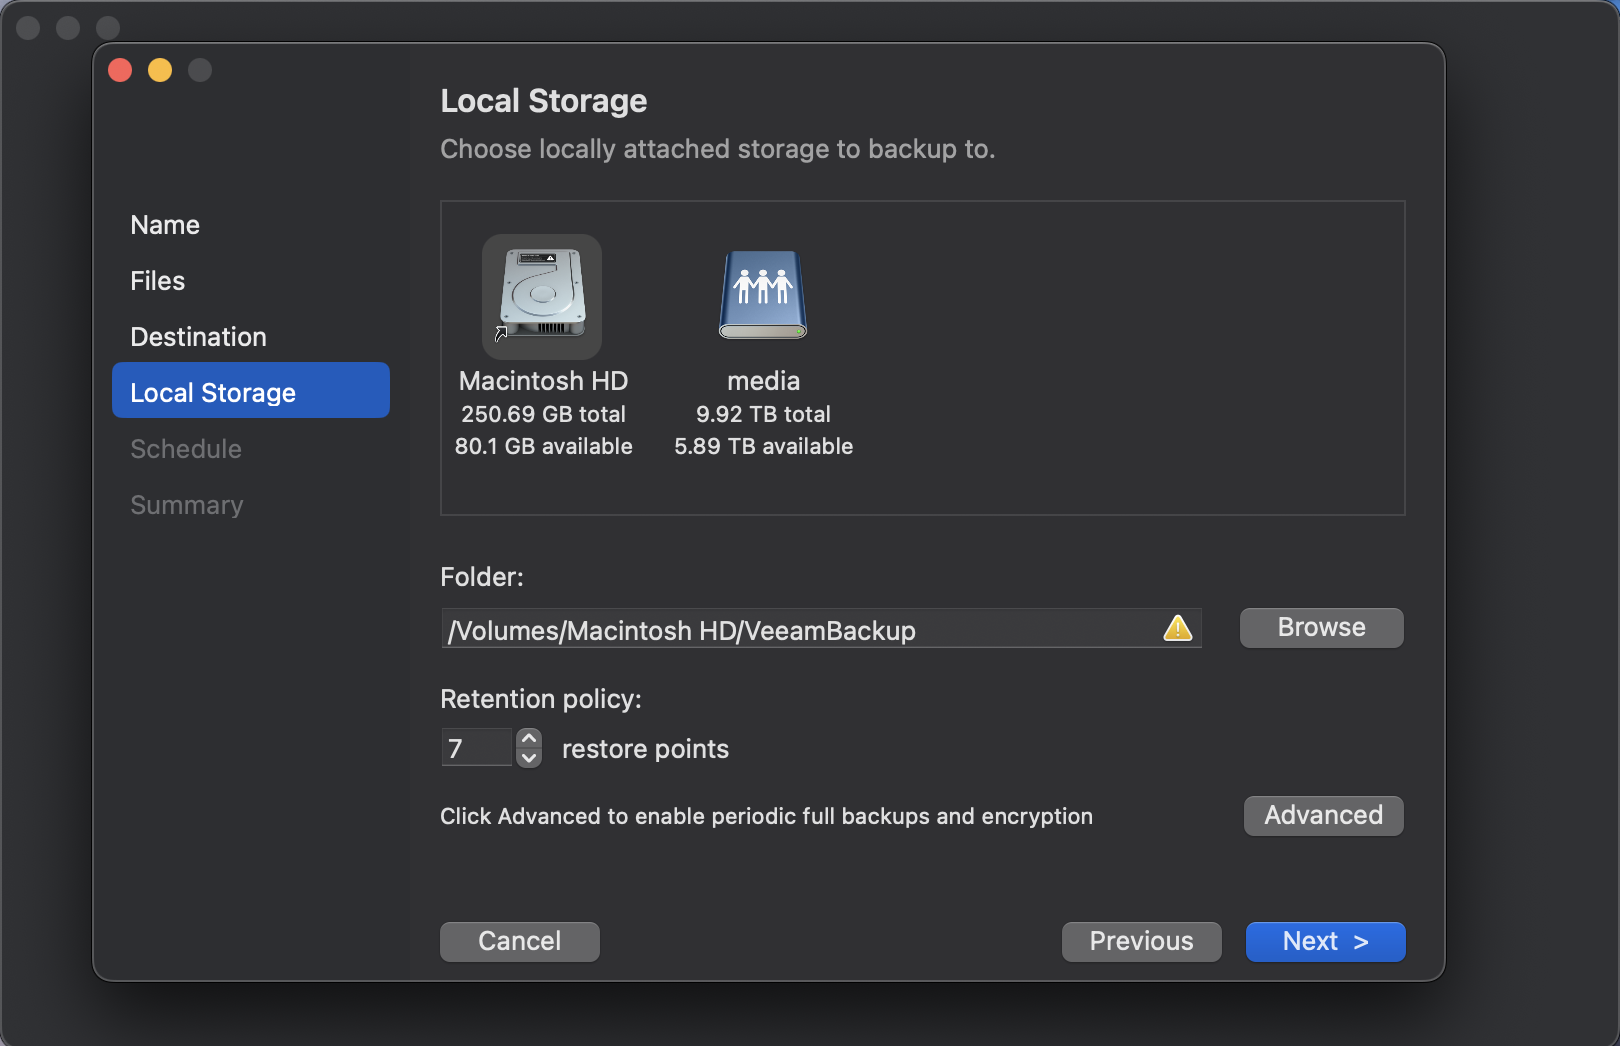
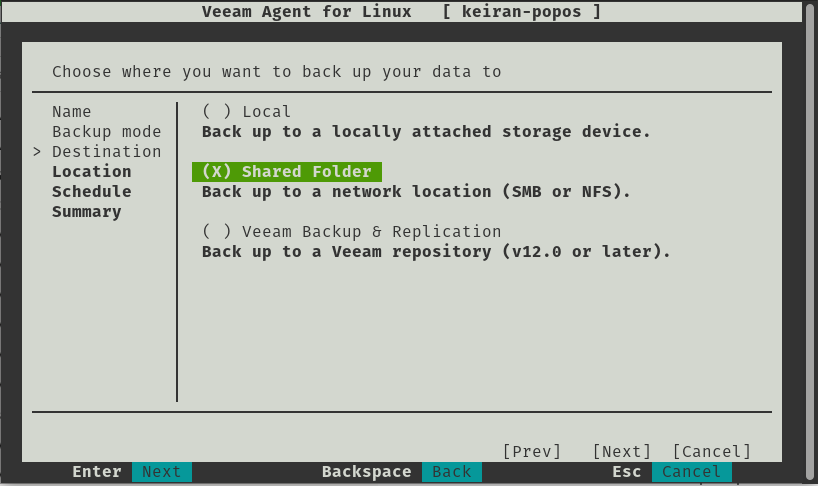
The destination is a very important selection, if you select a local storage device that is built into your computer, than you may have trouble if there is physical damage to the machine. If you were to select a local drive attached, you will need to ensure that the drive needs to be removed safely, and stored in a safe place. Shared folders allow you you to be able to backup to an SMB or NFS share, this allows you to select a destination that might be in another room in the house, or allows your backup to take place over wireless so you can be sitting in any room of the house working away while the backup takes place. Backing up to a Veeam Backup and Replication repository is similar to a shared folder, however you have more control over the backup and it is easier to mount from within the console in the event you need to restore – The Linux agent version 6 is only able to connect to VBR v12 or higher.
It worth noting that the above options are avilable in the free version, however there are also 2 other options available with a valid license. Object-Storage is becoming increasingly popular and there are many vendors that offer both an on-premises installation and a cloud hosted option. With a license you will be able to backup to an object storage repository, or utilise Veeam Cloud Connect and backup to a service provider – both for off-site copies.
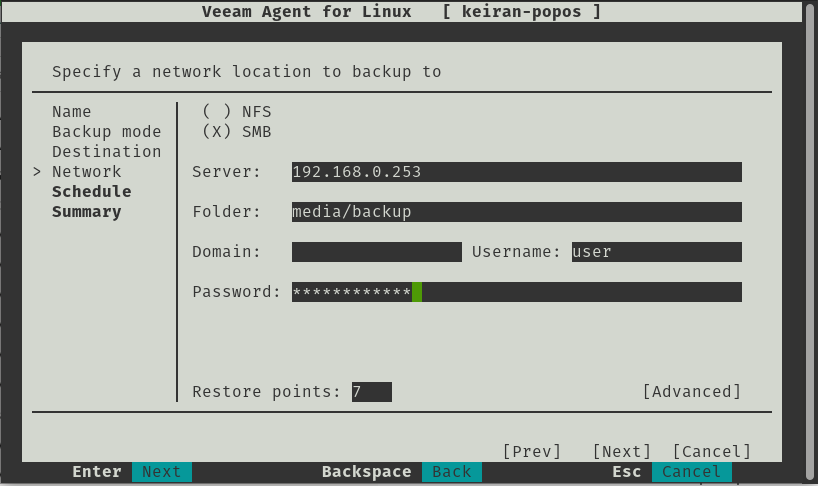
If you attempt to run the SMB share, you may run into an issue where an error message advises that the “Current System does not support SMB” – This is an easy fix and you just need to install the cifs-utils package and once installed, you will be able to continue on with the setup.
# apt-get install cifs-utils

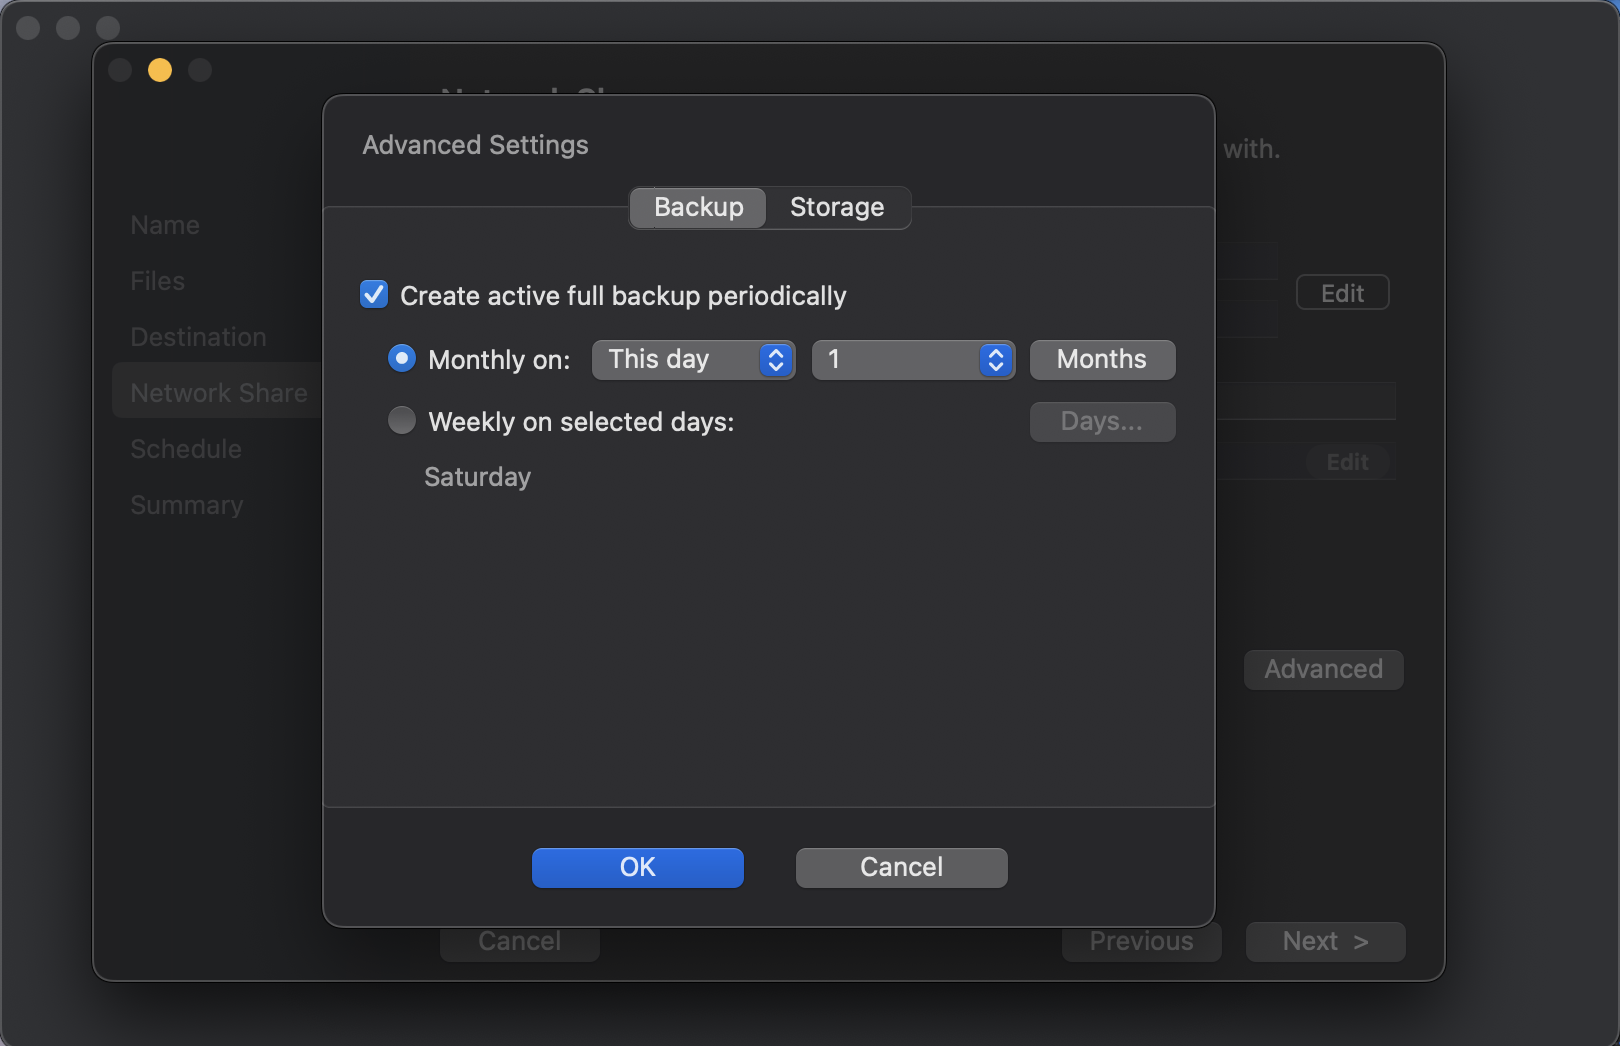
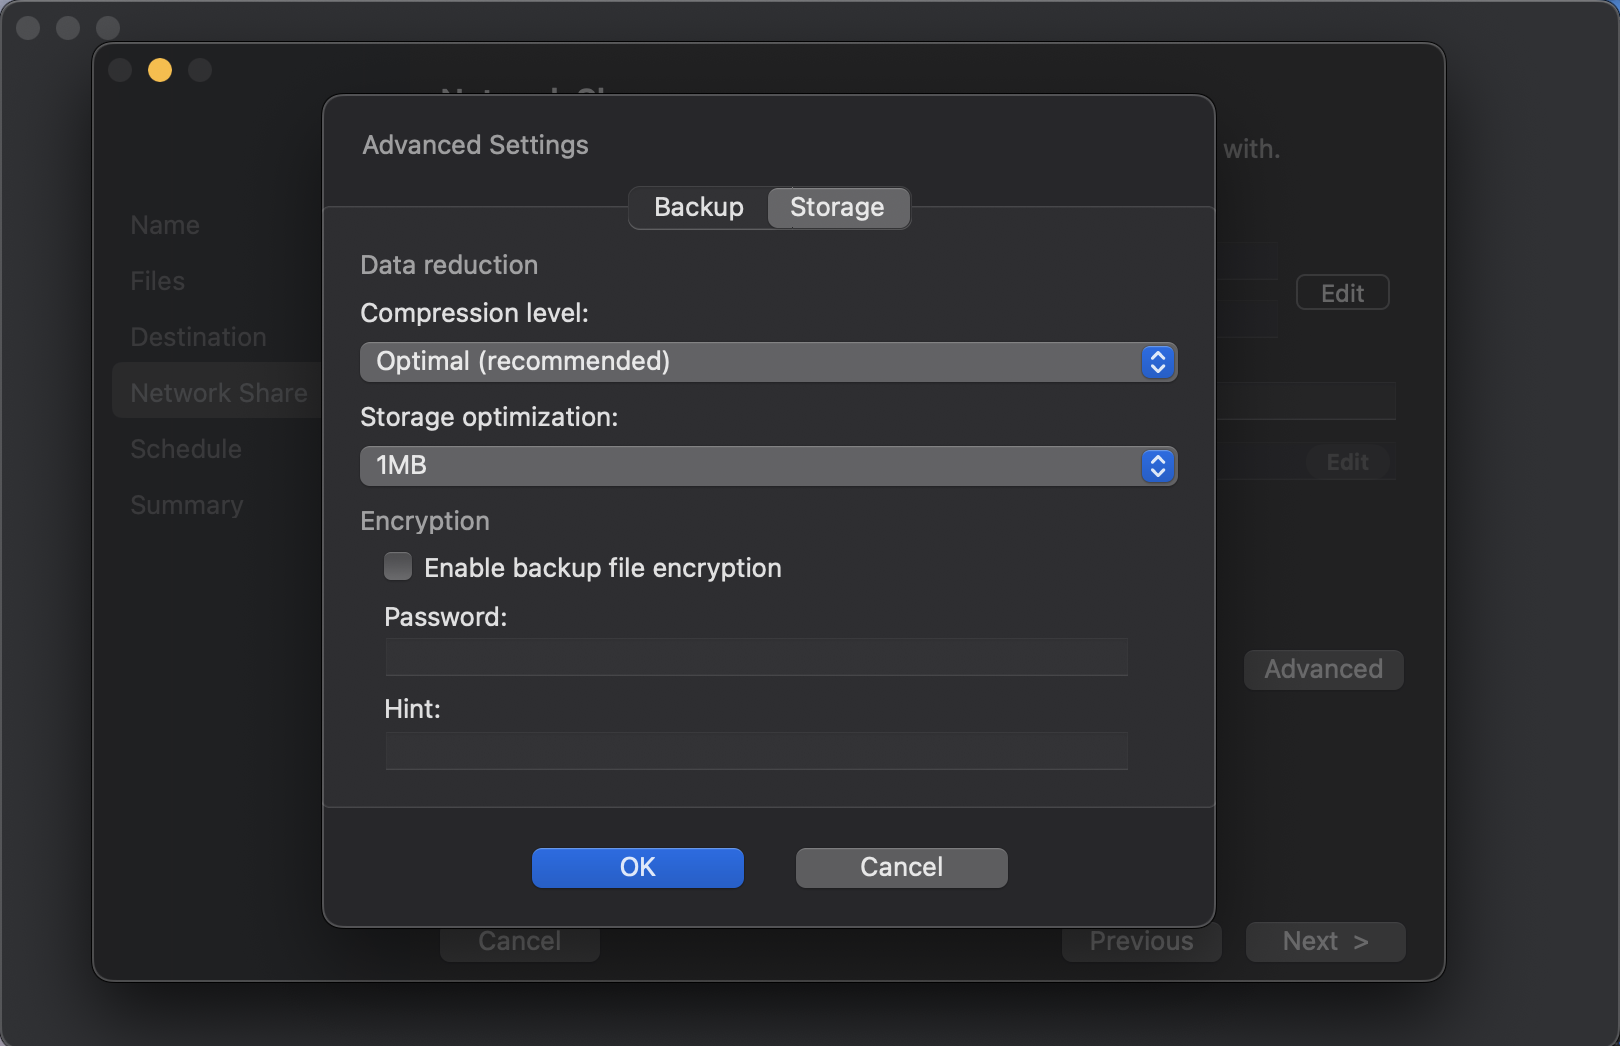
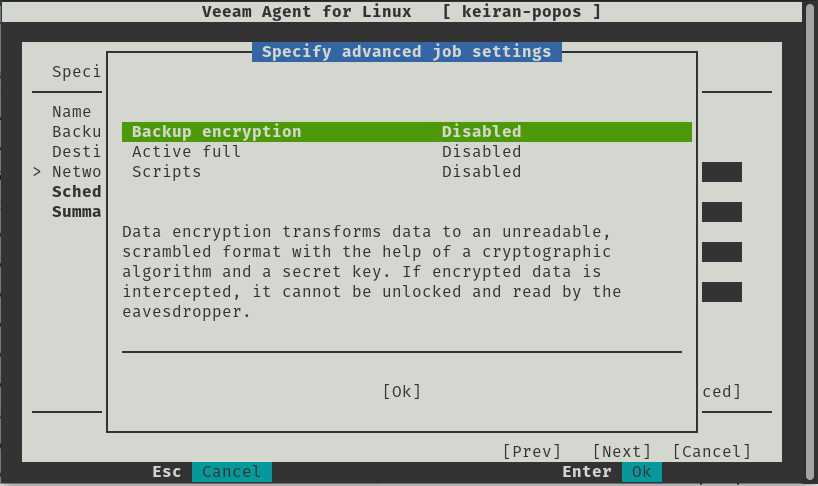
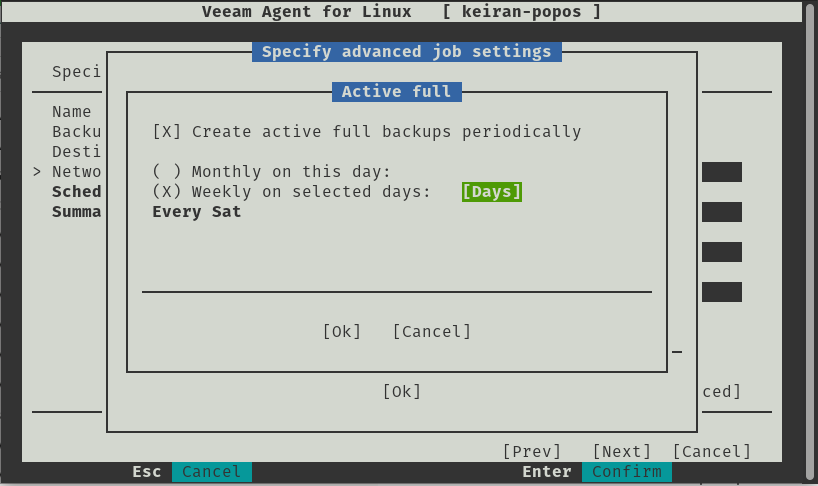
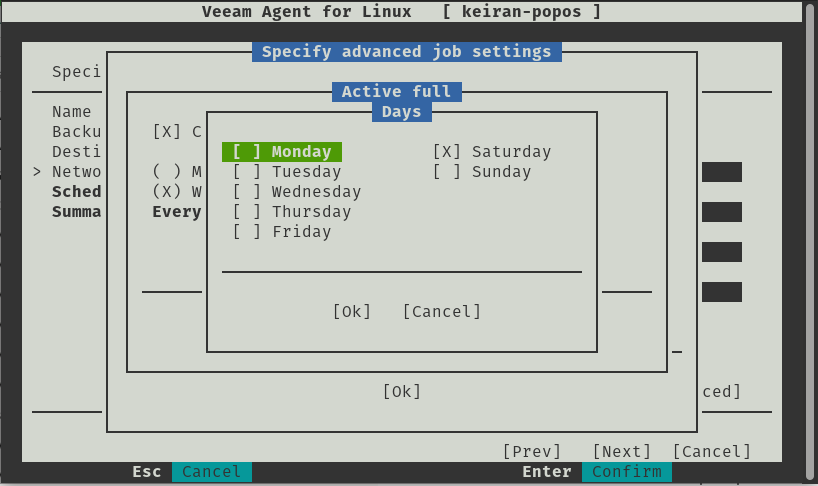
When designing your Backup and DR plan, it is crucial to plan for how long you need to retain your restore points for. The type of restore points is also as important, whether you want all incrementals or a full created once a week, but planning from the beginning can save pain later on. With the Linux Agent, you have the option to enable Active Full and set a schedule for how often you would like the process to run. Veeam also offers some other advanced features when configuring your backup job. Encryption is certainly important, especially for sensitive data, and Veeam’s gives the option in the free version to add an encryption password, but make sure you save that password somewhere secure otherwise your backup will be scrambled and unreadable. You can also run scripts after the restoration.
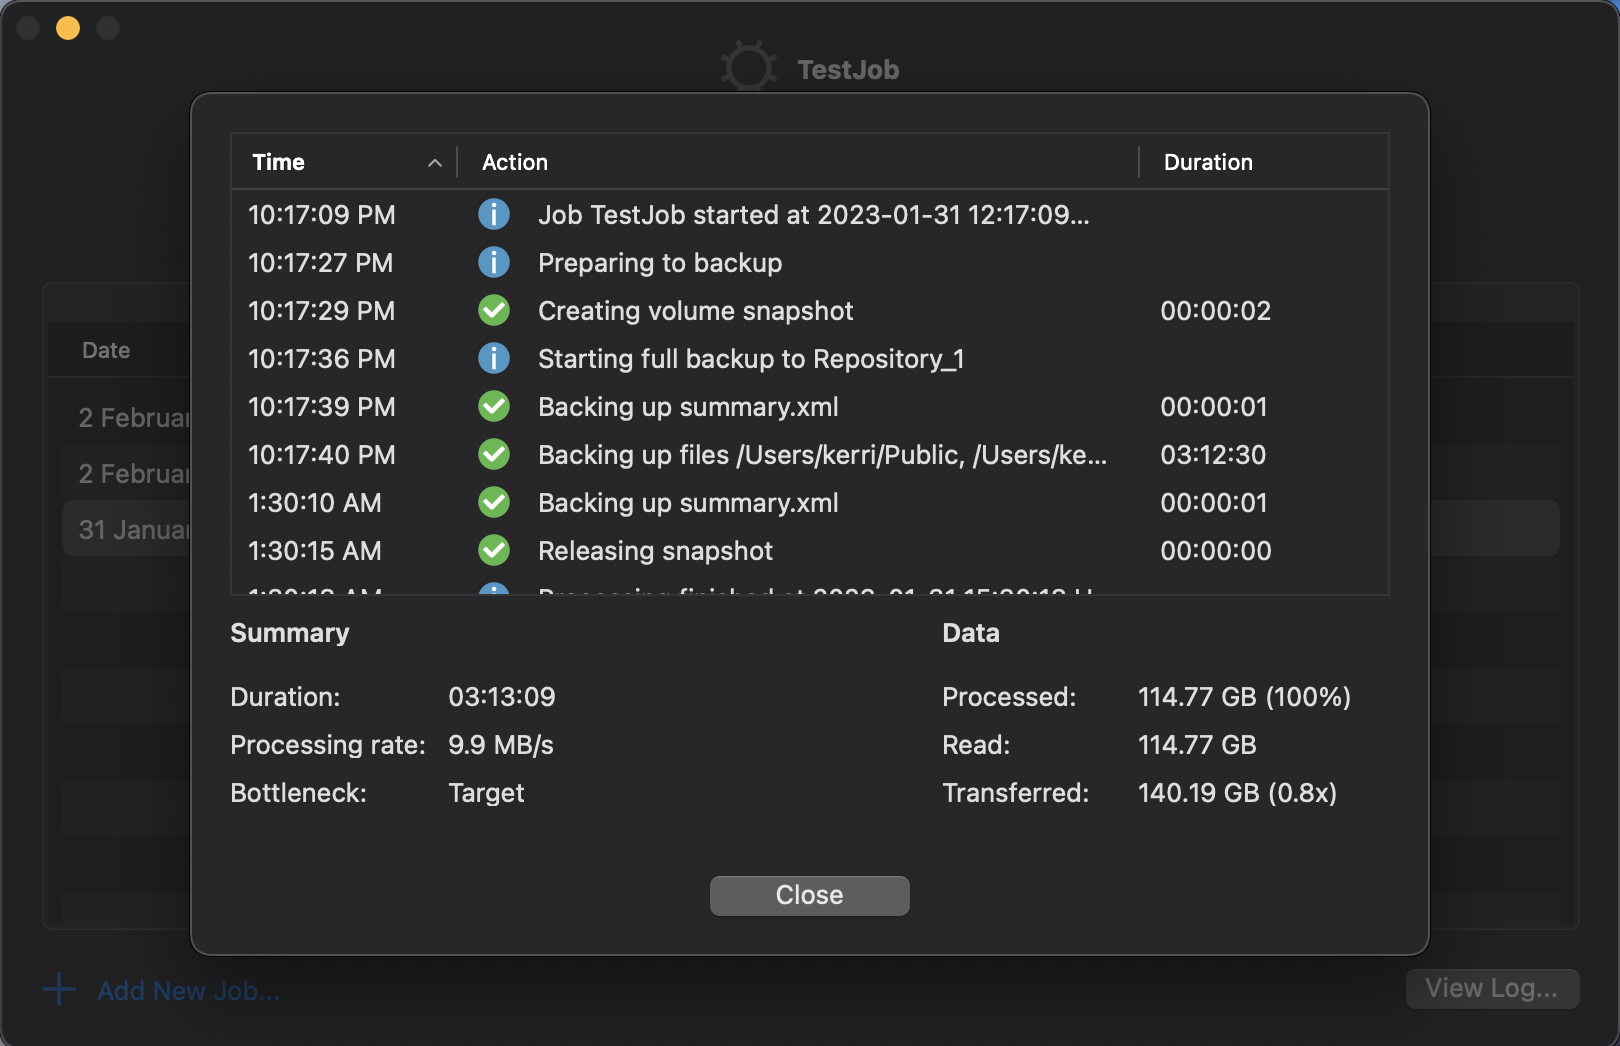
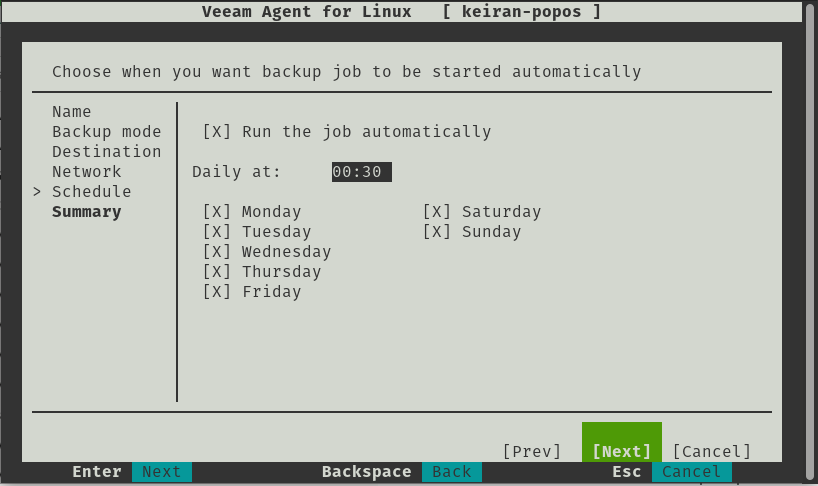
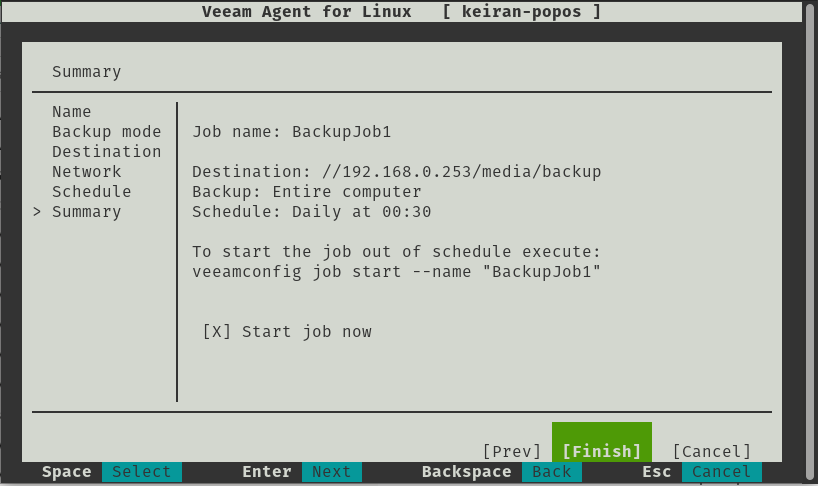
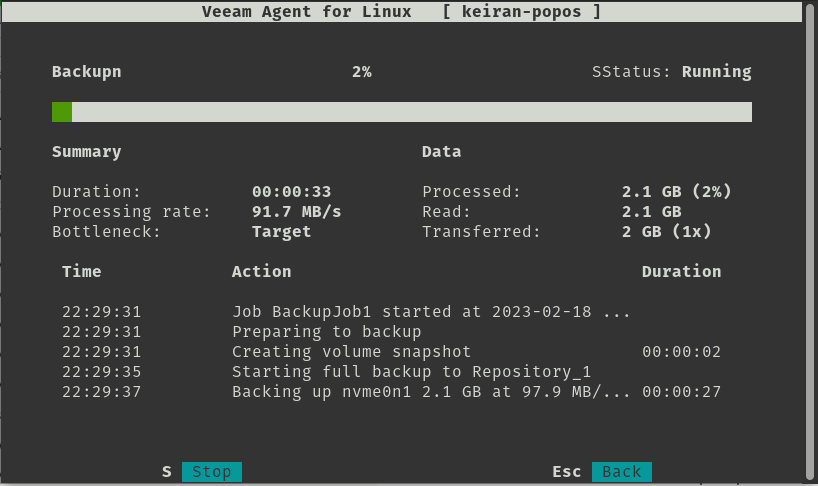
Simply, the last two options allow you to set your schedule, what time and what day would you like your backup to run. Once you’re happy with that you can review your backup configuration and continue – if you desire, you can start the job immediately.
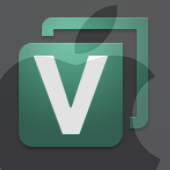
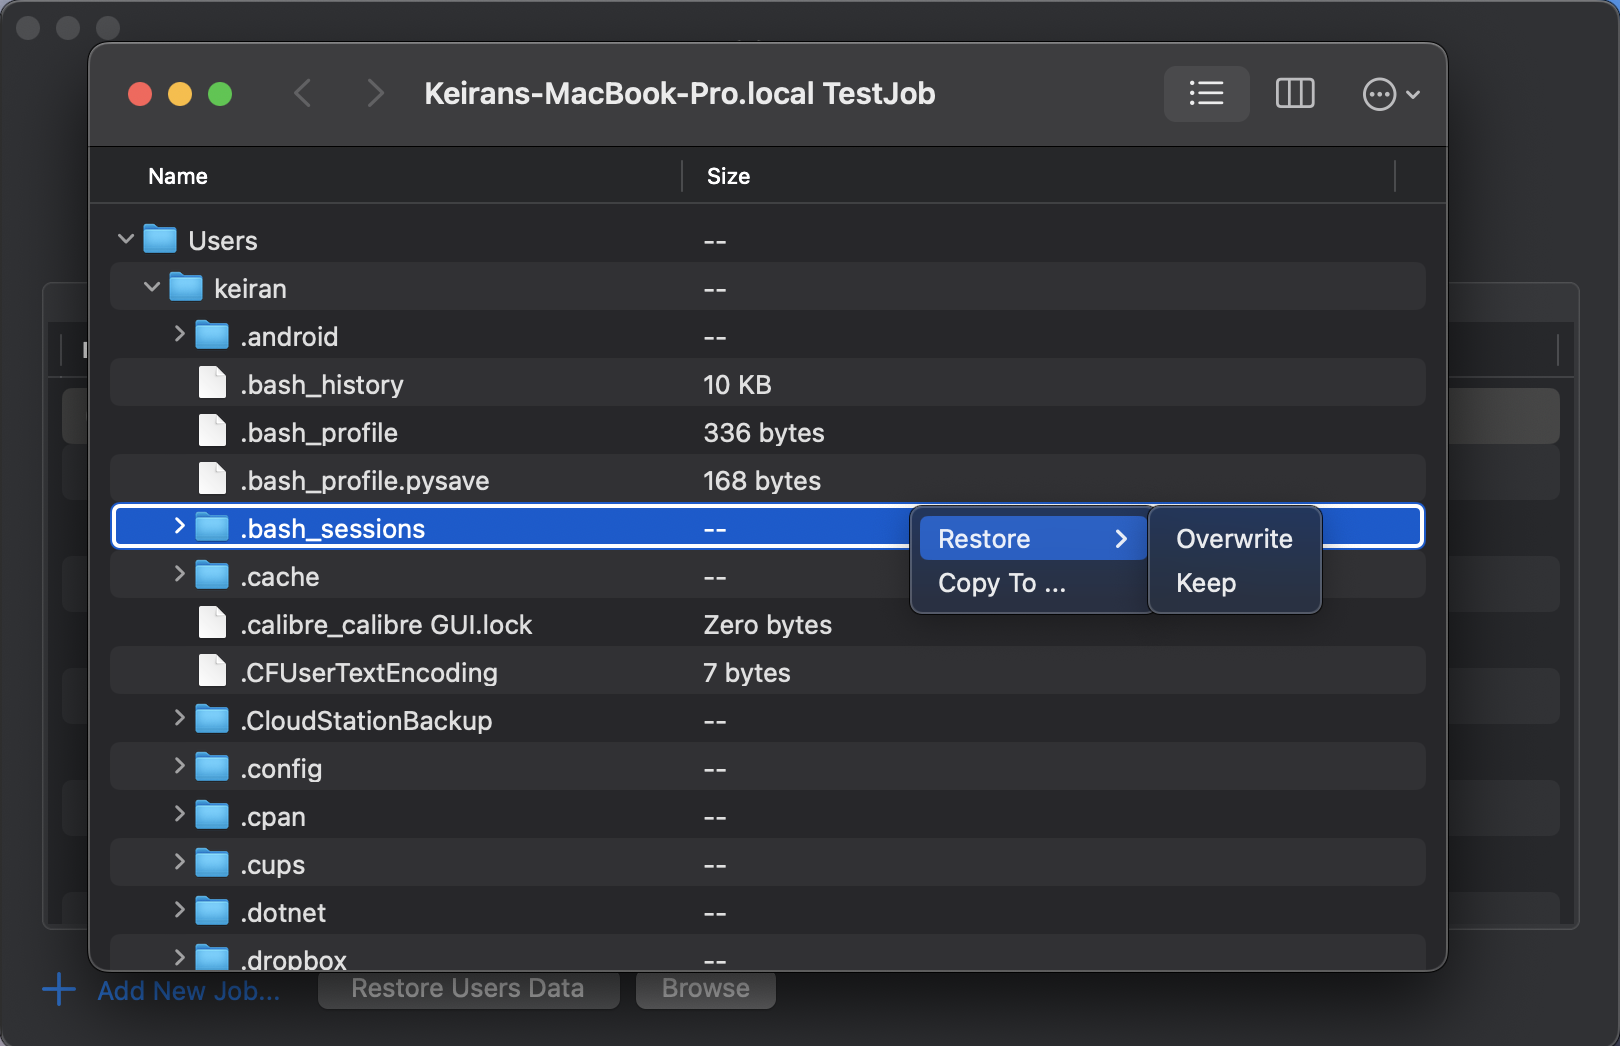
Restore
This is where I felt the product really shined, as much as having an easy backup with a lot of options to make it as efficient as possible, if you can’t access and restore your data then why are you even bothering with a backup?
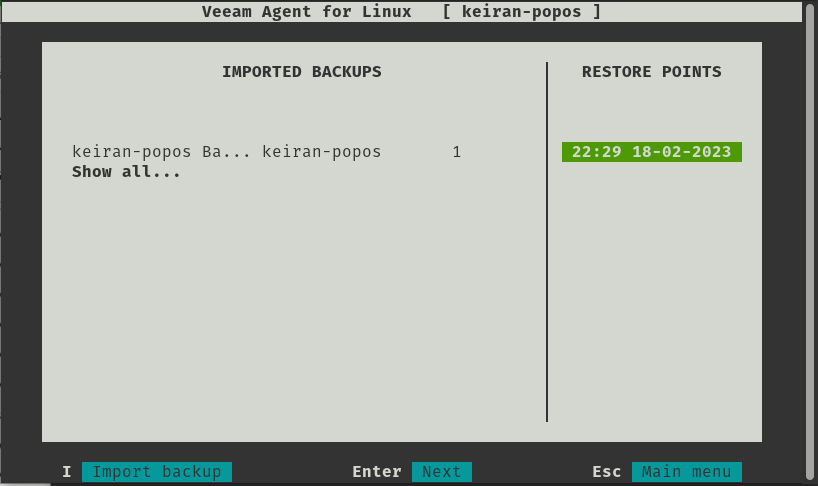
Once the first backup has been successful, select R for Recover Files takes you to another screen that displays your backup jobs and their restore points. Once you select a restore point, your system will mount that point to /mnt/backup and from here you can fully browse your backed up files. If you are using a desktop environment, you can open this up in your file manager, and if you are using all cli then you can navigate to the mount point and copy the files as required.
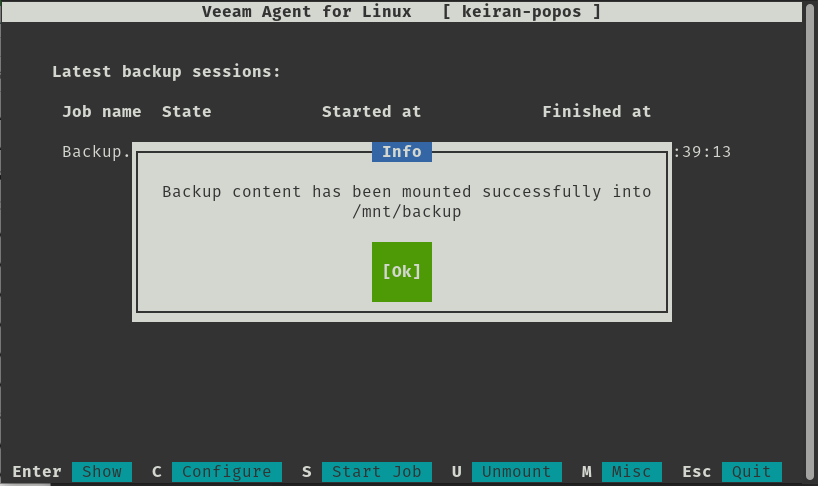
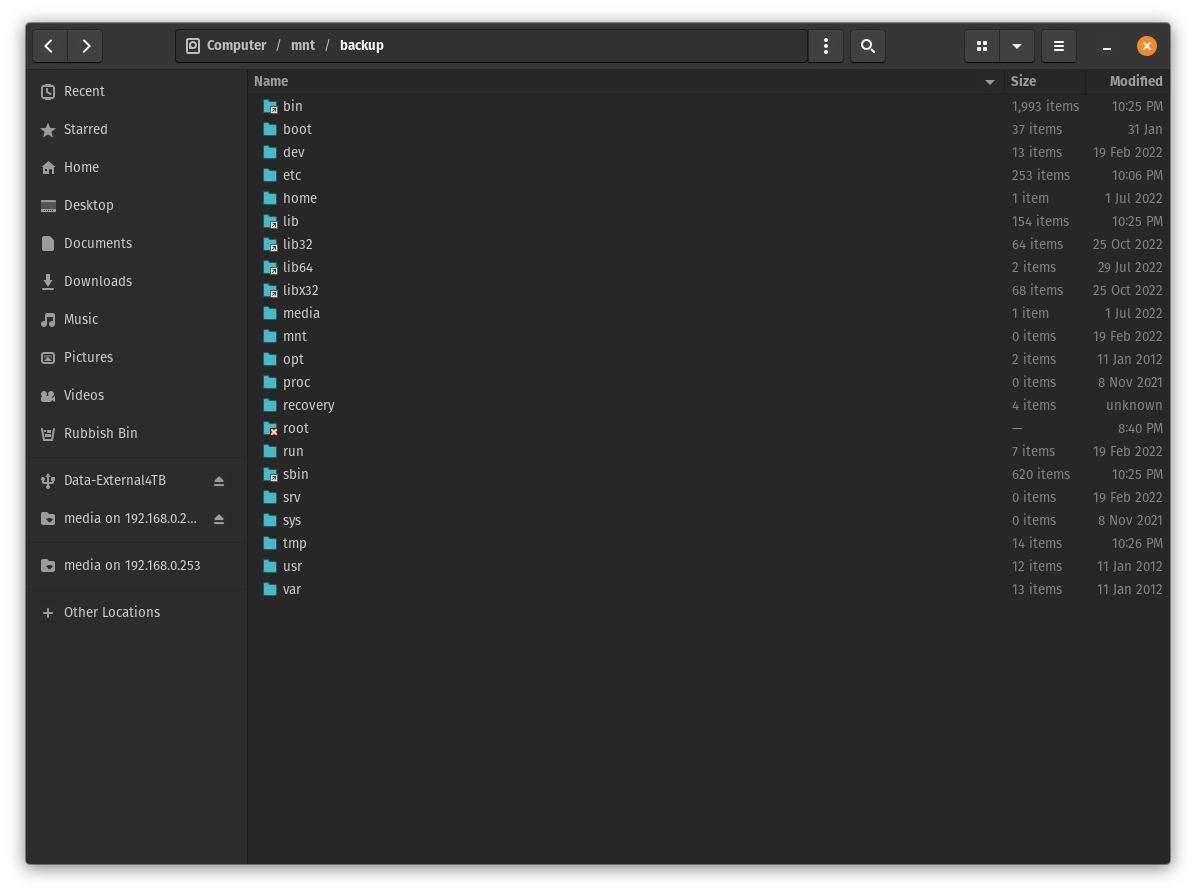
It really is that simple.
Conclusion
Another great product, not only because it does exactly what it is meant to, plus more, but it is also free with a limited set of options. Veeam have really put a huge effort into making a great backup tool so easy to use on Linux. Yes, there are a number of dependencies that are required, but that is just Linux, and majority of them are already installed. Hats off to Veeam for sticking to making another easy to use tool, and also for making it freely available.