With technology ever-changing, and businesses continuously facing security challenges, services such as Azure and AWS need to keep on adapting and improving their security posture to ensure that they continue to protect their customers and services. While this is certainly the correct thing to do, it does sometime create issues for the end users or other applications that are making use of those services.
If you are a Veeam Backup for M365 customer or user, you may come across the below warning messages when running a backup job. This is because Microsoft have made some additional security changes with different graph API access permissions. This isn’t really all that bad, minus the bits that have been skipped during that backup window, but it is extremely easy to resolve.
12/02/2025 9:07:25 PM :: Missing application permissions: Exchange.ManageAsApp. Missing application roles: Global Reader. Public folder and discovery search mailboxes will be skipped from processing, and a shared mailbox type will not be identified.
12/02/2025 9:07:25 PM :: Missing application permissions: ChannelMember.Read.All. Private and shared team channels will be skipped from processing
To resolve this, all you need to do is run through editing your organization once again, and allowing to. update the application registration.
You do need to make sure you still have the certificate in the cert store for which you used to create the application or recently updated with
Right click on the organization and select Edit Organization
Click Next until you get to the “Microsoft 365 Connection Settings” – Here you can select Use an existing Azure AD Application
Your Username and Application ID will appear in the boxes. Here you will need to then select Install and select your certificate that you used to connect to the application when you either created or last updated.
Ensure to check the Grant this application required permissions and register its certificate in Azure AD box. Click Next
You will then be request to copy the code and go to https://microsoft.com/devicelogin and log in with a GA account to authorize the change
Once Authorized you will then see the progress of the update.
Once all updated click Finish. You can then go ahead and start the job and wait for it to complete.
Once the job has completed, confirm that all was successful and no further warnings.
This should be resolve any issues Veeam Backup for Microsoft had for backing up using the Graph API.
One of the most tedious operational tasks you can do in IT is manage domains and certificates – these chores can become quite tiresome when replacing many over a year and then starting again as most certificates only have a 1 year (13 month) life cycle.
But then… you have certificate providers like Let’s Encrypt and ZeroSSL who provide 3 month free certificates (some with additional costs for repeated use) that with the help with additional toolsets can become automated certificate renewals.
in this article I want to cover how to set up and use Let’s Encrypt with Certify the Web to automate the renewal of the certificates for Veeam Backup for M365.
As Let’s encrypt needs to use either DNS or HTML to check the legitimacy of the domain to be ale to provide a valid certificate, it is helpful to use an application like CertifyTheWeb to automate the process to update the DNS record when required. CertifyTheWeb has the ability to update a number of DNS providers using the APIs provided along with the API token. Use the attached link here for Setting up CloudFlare API Token for your required DNS zone – this will then allow CertifyTheWeb to make those changes on the fly.
To set up CertifyTheWeb to just generate certificate:
Download and install CertifyTheWeb’s application (Best on the server you require the certificates on)
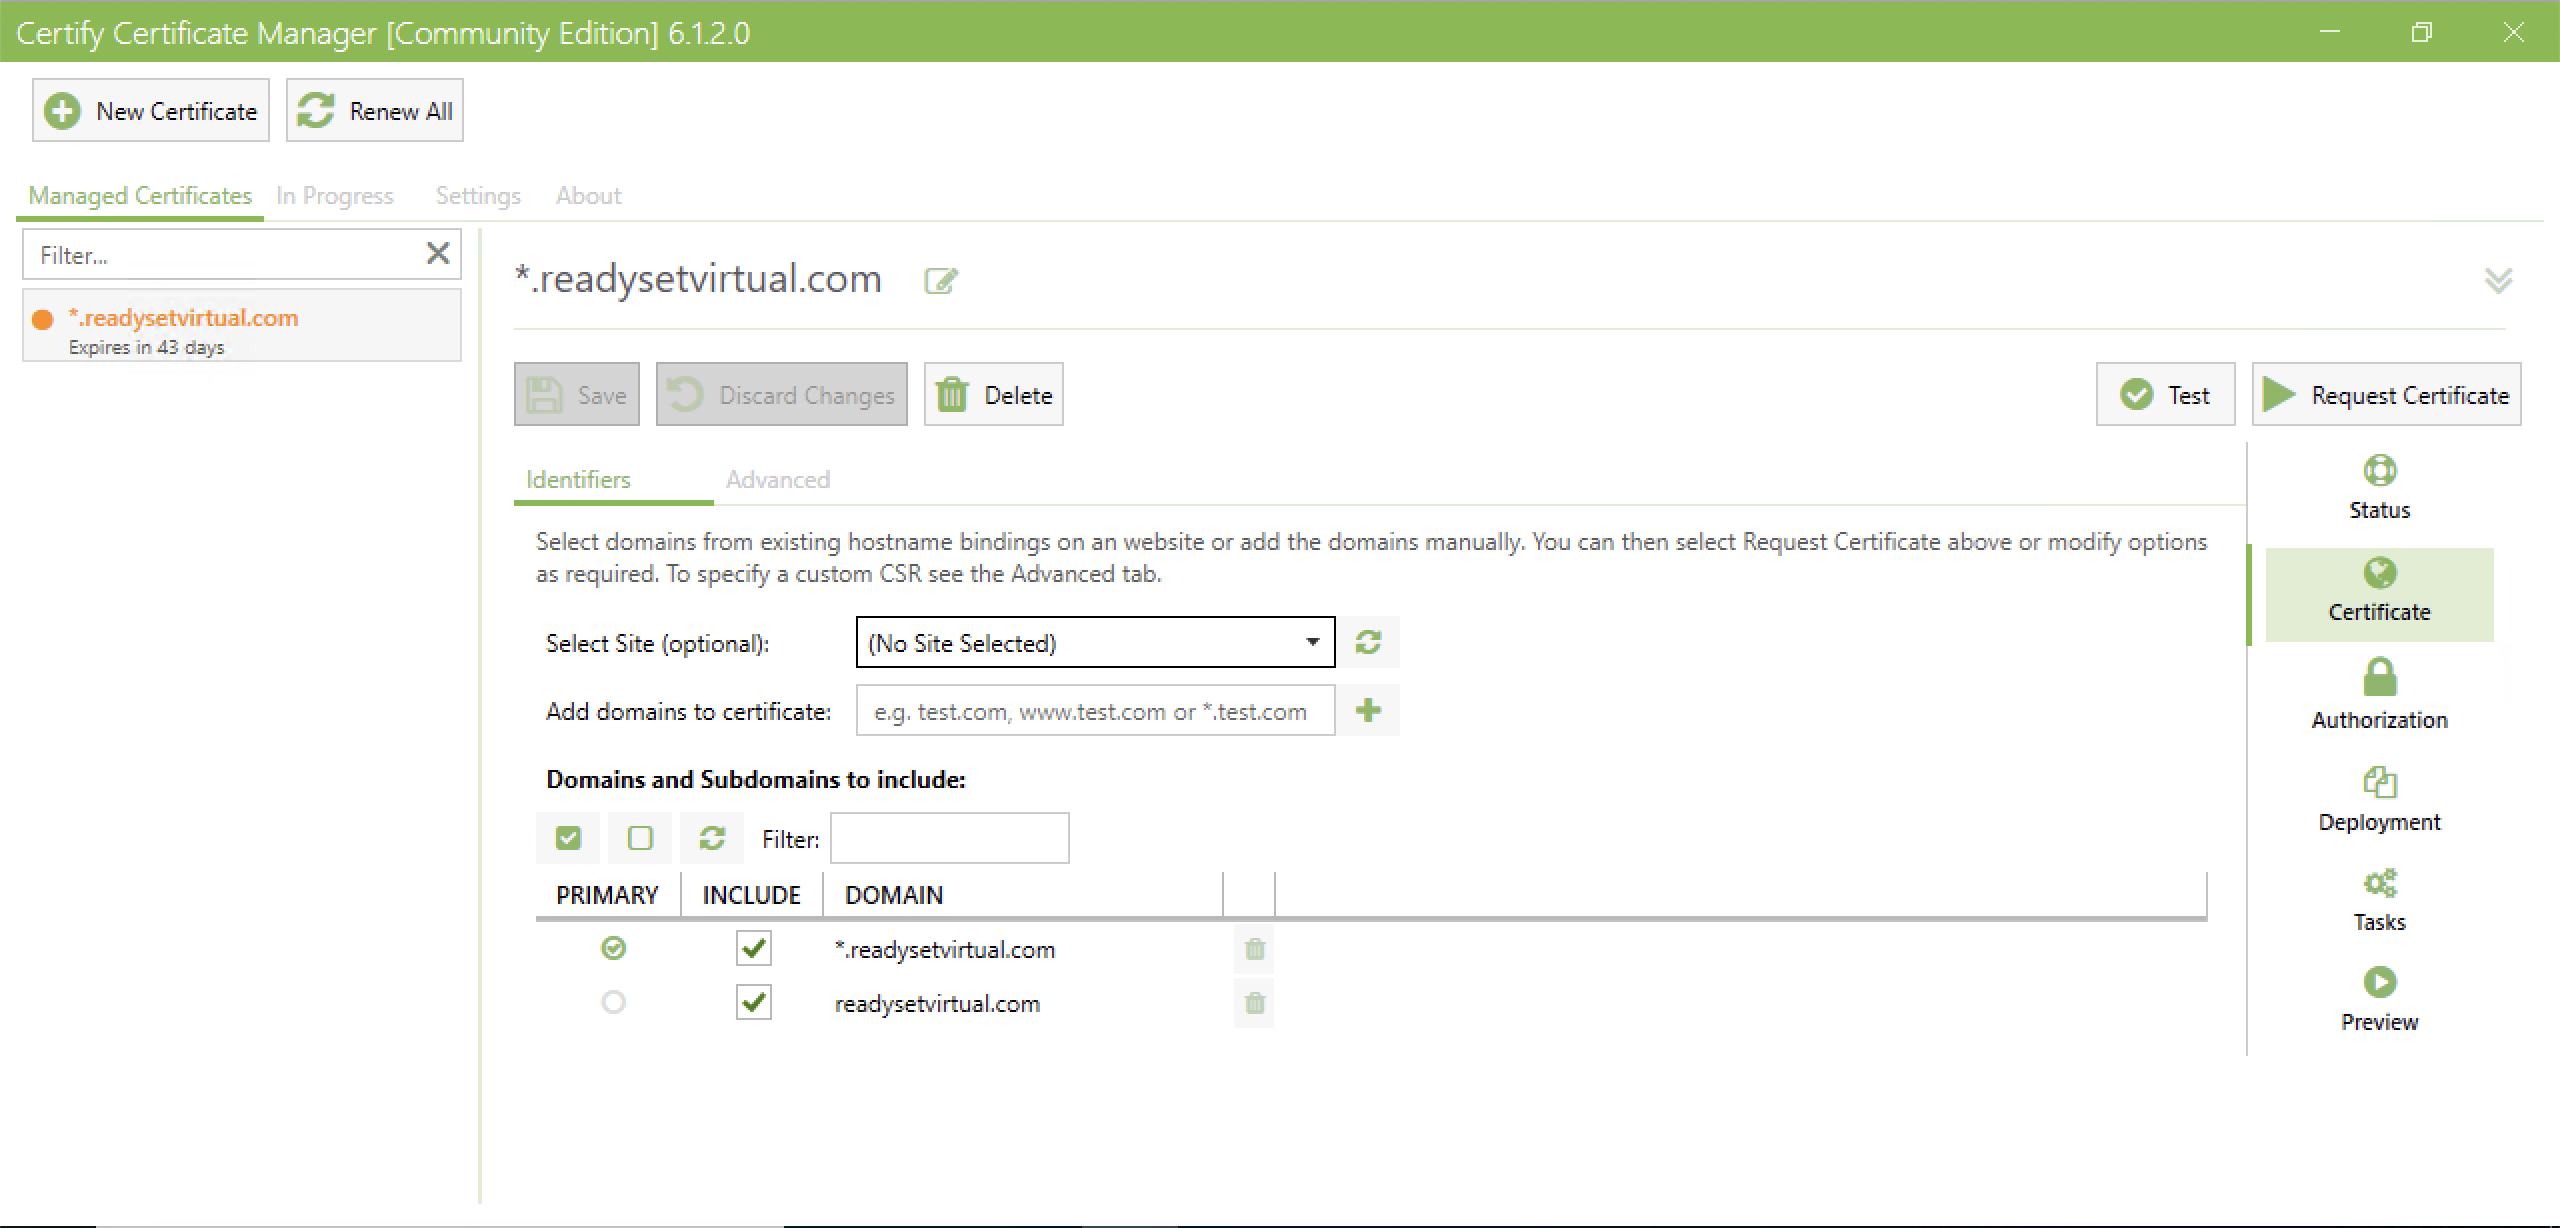
Create a new Certificate
Set the Challenge type to DNS and select your DNS Update Method /Manage
Add your credentials/API Token for the DNS manager and put in your DNS Zone ID
Run a Test and confirm that the challenge is working and that the certificate is ready to be deployed.
While certify the web will handle applying the certificate to a number of web host systems, for applications like VB365, you need to utilise the APIs/PowerShell commands to install the certificates.
This will be applied to the Tasks section of CertifyTheWeb where you can run post-scripts to your recently registered certificates.
When a certificate is downloaded, it is added to the default folder of C:\ProgramData\certify\assets\<_.domainName>\ – Here you will find the .pfx files.
The below script will install the certificate to the below parts of Veeam Backup for M365. It will also enable the features.
RestAPI
Tenant and Operator Authentication
VBO Restore Portal
In a nutshell the script will perform the below actions:
Import required modules from Veeam Backup for M365
Create archive folder for certificate if it doesn’t already exist
Set Certificate path
Enable RestAPI setting and install certificate
Enable Operator Authentication setting and install certificate
Enable Tenant Authentication setting and install certificate
Enable Restore Portal Setting and install Certificate while setting Region, AppID and PortalURI
Move certificate to the archive folder
Save the below script as a .ps1 and map it through the Tasks in CertifyTheWeb – this will then call during deployment.
# Import VB365 PowerShell ModulesImport-Module"C:\Program Files\Veeam\Backup365\Veeam.Archiver.PowerShell\Veeam.Archiver.PowerShell.psd1"Import-Module"C:\Program Files\Veeam\Backup and Replication\Explorers\Exchange\Veeam.Exchange.PowerShell\Veeam.Exchange.PowerShell.psd1"Import-Module"C:\Program Files\Veeam\Backup and Replication\Explorers\SharePoint\Veeam.SharePoint.PowerShell\Veeam.SharePoint.PowerShell.psd1"Import-Module"C:\Program Files\Veeam\Backup and Replication\Explorers\Teams\Veeam.Teams.PowerShell\Veeam.Teams.PowerShell.psd1"$Region=#Default is = Worldwide$AppID=#AppID$PortalURI=#RestorePortal URI# Set the archive folder path$archive="C:\ProgramData\certify\archive\"# Check if folder not exists, and create itif(-not(Test-Path$archive-PathType Container)){New-Item-path $archive-ItemType Directory}# Grab new certificate# -Path must be set to the assets folder domain with the wilcard for the .pfx $Certificate=Get-ChildItem-Path "C:\ProgramData\certify\assets\_.readysetvirtual.com\*.pfx"# Install RestAPI certificate and enable servicewrite-host-foreground Yellow "Setting VBO365 Certificate"Set-VBORestAPISettings-EnableService -AuthTokenLifeTime 4800-CertificateFilePath $Certificate# Install Tenant and Operator Authentication CertificateSet-VBOOperatorAuthenticationSettings-EnableAuthentication -CertificateFilePath $CertificateSet-VBOTenantAuthenticationSettings-EnableAuthentication -CertificateFilePath $Certificate# Install Restore Portal CertificateSet-VBORestorePortalSettings-EnableService -ApplicationId $ApplicationId-CertificateFilePath $Certificate-Region Worldwide -PortalUri $PortalURIsleep 5# Move Certificate to Archive C:\ProgramData\certify\archive\write-host-foreground yellow "Moving certificate to C:\certs\certify_archive\"Move-Item-Path $Certificate-Destination C:\ProgramData\certify\archive\write-host-foreground green "Certificate Sucessfully Applied"
Just like that, the certificates are updated, and in the final few weeks CertifyTheWeb will run and generate a new set of certificates and apply as required when the existing are about to expire.